

Key Takeaways
Resetting a persistent warning light requires diagnostic precision and an understanding of vehicle systems. The following points summarize the essential approach to managing your engine health.
- Perform basic checks before using electronic tools.
- OBD-II scanners identify specific fault codes.
- Drive cycles allow the computer to reset naturally.
- Avoid battery disconnection unless strictly necessary.
- Consult specialists when lights keep returning.
Understanding the Land Rover check engine light
Modern vehicles utilize complex onboard computers that constantly monitor engine performance and emissions standards. When the onboard system detects a potential issue, it illuminates the check engine light on your dashboard to alert the driver to incoming data discrepancies.
Common reasons why the light triggers
Engine warning indicators are often triggered by sensors detecting minute deviations in emissions. Common culprits include loose fuel components, failing oxygen sensors, or an aging catalytic converter that no longer meets strict environmental requirements.
Differentiating between temporary alerts and serious faults
Drivers should observe how the light behaves during operation. A steady, solid light usually implies a non-emergency fault that requires attention soon, whereas a flashing light suggests a severe misfire occurring in real-time that necessitates an immediate reduction in engine speed.
Why you should never ignore a warning light
Neglecting internal warnings can lead to long-term component failure or significantly decreased fuel efficiency. Addressing small alerts early prevents these minor hiccups from becoming expensive repair bills down the road, ensuring your engine runs optimally.
Initial troubleshooting steps before resetting
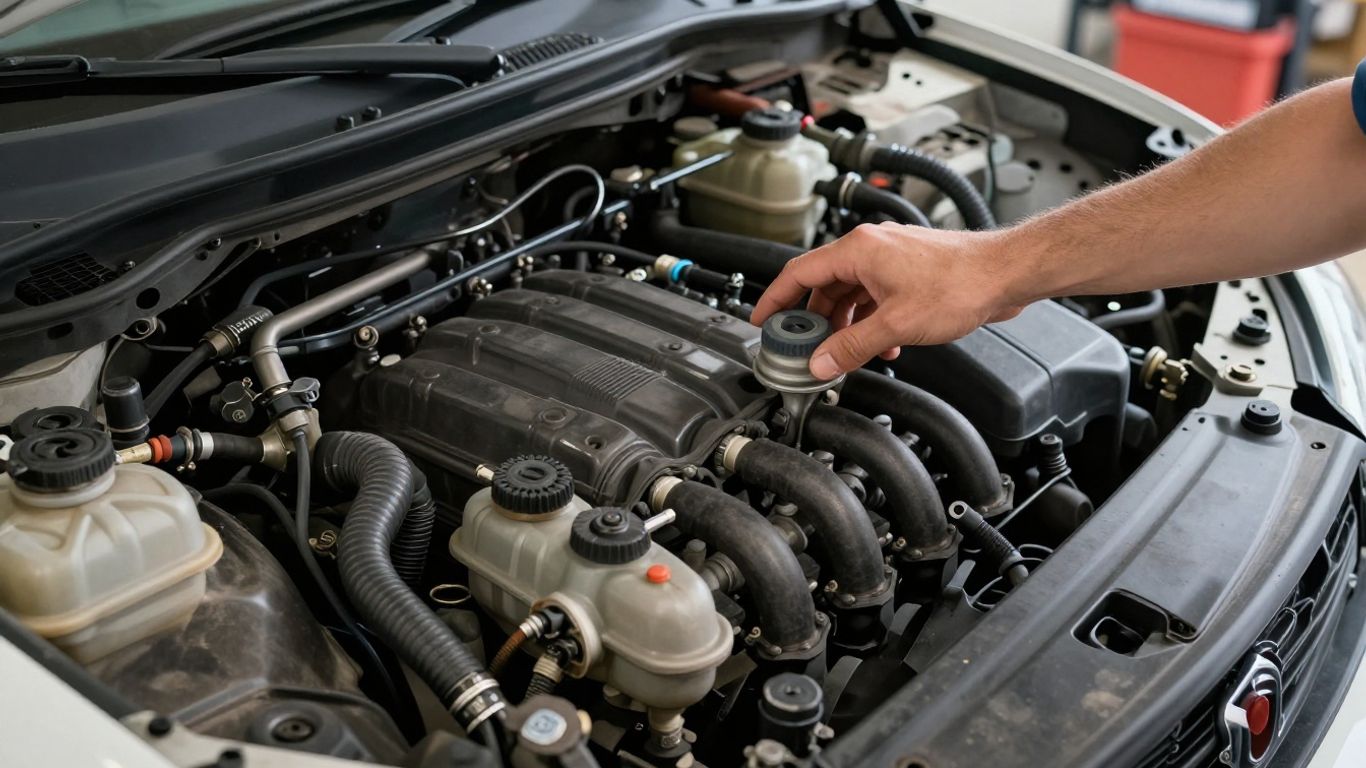
Before reaching for complex software, perform manual physical checks to rule out simple oversights. Much like checking your vehicle before a ride, as discussed in the scooter buying guide, conducting thorough prep helps identify issues without advanced equipment.
Checking the gas cap for a proper seal
An improperly tightened or degraded gas cap is a leading cause of emissions-related warnings. Ensure you click the cap fully when refueling to maintain the vacuum seal required by the fuel system.
Inspecting your vehicle for visible engine leaks or smoke
Visual examinations involve checking the engine bay for signs of fluid pooling or unusual vapor. You might perform visual spot checks using a skincare consultation logic—looking for changes or abnormalities that deviate from your normal baseline.
Monitoring for unusual engine noises or performance drops
Audible changes such as pinging, knocking, or sudden hesitation deserve immediate notice. You should keep a track of any changes with an online grocery guide to organize your maintenance schedule alongside other household tasks.
- Check fluid levels for oil and coolant.
- Ensure wires are securely attached to sensors.
- Look for frayed belts or disconnected hoses.
- Listen for rhythmic clicking while idling.
Paying attention to these specific areas helps clarify whether the issue stems from an electrical fault or a mechanical necessity.
Resetting the light using an OBD-II scanner
Once physical checks are exhausted, using electronic tools becomes necessary for data retrieval. An OBD-II diagnostic tool serves as the interface between the car’s computer and your diagnostic software, highlighting exact error codes.
Choosing a compatible diagnostic scan tool
Select a device that is rated for high-end European vehicles to ensure full coverage of specialized proprietary sensors. A high-quality tool avoids generic readout errors that often lead to misdiagnosis during routine maintenance.
Connecting the scanner to the Land Rover port
You will typically find the standardized diagnostic port located under the dashboard on the driver’s side. Simply insert the connector leads until the screen illuminates, confirming the device has established a handshake with the onboard computer.
Interpreting diagnostic trouble codes
When a code is retrieved, consult the documentation for a full breakdown. Use the table below to understand common code categories based on their functional systems.
| Code Prefix | System Area | Primary Function |
|---|---|---|
| P0XXX | Powertrain | Engine fuel and air |
| C0XXX | Chassis | Braking and suspension |
| B0XXX | Body | Climate and windows |
Reviewing these codes in detail allows you to verify if the issue relates to a sensor failure or a deeper system-wide calibration problem.
Clearing stored codes to extinguish the light
After identifying and addressing the root cause, use the clear function to purge temporary error data. Only finalize this step once you have verified the underlying repair to prevent the warning from immediately resurfacing.
The drive cycle reset method

Driving in a specific sequence allows the vehicle’s computer to re-evaluate the emission systems under real-world road conditions. This natural process is often safer for sensitive hardware than forced electronic overrides.
Explanation of the OBD-II drive cycle process
A drive cycle consists of a cold start, steady highway cruising, and various throttle adjustments. This regimen forces the car to cycle through monitoring steps, allowing the engine controller to verify every sensor’s status.
Necessary driving conditions for system calibration
Typically, you will need to maintain specific speeds for extended periods to reach full engine operating temperature. Avoid rapid acceleration or heavy braking during this window, as these actions interrupt the system self-test sequence.
Monitoring the vehicle readiness monitors
Use your scanner to track monitor completion as you drive throughout the week. Once the monitor indicates the readiness signal is complete, the computer has successfully accepted your new baseline parameters.
Manual battery disconnect as a last resort
Sometimes, a power-cycle is the only way to clear stubborn software hiccups that prevent normal sensor function. This procedure resets the volatile memory stored within the electronic control unit.
Safety precautions for disconnecting the battery
Always wear protective eyewear and ensure you have handled the negative terminal first. Providing a stable environment prevents potential electrical shorts that could damage sensitive infotainment electronics.
Potential risks of erasing adaptive learning data
Be aware that disconnecting power can force the transmission to lose its adaptive shift patterns. The vehicle may feel slightly unrefined for the first few miles while the computer recalculates its optimal performance map.
Procedure for safely grounding the electrical system
After disconnecting, hold the leads together for several minutes to fully discharge residual capacitors. This ensures every remaining bit of data is wiped, allowing the ECU to reboot as if it were a fresh, factory-reset unit.
When to seek professional Land Rover diagnostics
When standard resets fail to resolve the issue, professional intervention is required to avoid causing further distress to the vehicle. Relying on experts is the best way to handle complex internal logic boards.
Identifying persistent code recurrence
If the light returns within hours of a reset, there is likely a permanent physical failure that requires component replacement. Repeated resets will only mask an issue that is causing catastrophic engine degradation over time.
Locating an independent Land Rover specialist versus a dealership
Independent specialists often provide a more tailored service experience and often have access to comparable technical manuals. Dealerships, conversely, offer guarantees for factory-authorized repairs using specialized OEM parts.
Using factory-level diagnostic software for advanced issues
Professional diagnostic suites allow for deep-dive interactions with individual modules that cannot be accessed by consumer-grade tools. Utilizing prompt engineering techniques to better manage your support inquiries can help when explaining these technical issues to service staff.
Conclusion
Managing your vehicle’s health through informed diagnostic practices ensures you maintain reliable performance for thousands of miles. By combining systematic troubleshooting with professional diagnostic tools, you keep your vehicle in top shape while avoiding the frustration of recurring dashboard warnings.
Frequently Asked Questions
Is it safe to drive with the check engine light on?
You can generally drive with a steady light, but you should have it checked soon. A flashing light requires an immediate stop to prevent engine damage.
How long does a drive cycle take to complete?
It varies by vehicle, but it can take anywhere from fifty to one hundred miles of mixed city and highway driving over several days.
Do I need special expensive software to scan my car?
No, many affordable, high-quality OBD-II scanners work perfectly fine for standard diagnostic readouts on most modern vehicles.
What happens if I disconnect the battery and nothing changes?
If the light returns immediately, the system has detected a permanent fault that requires physical repair rather than just a software reset.
Can a loose gas cap cause other problems?
Beyond triggering the warning light, a loose cap can cause fuel vapors to escape, potentially leading to lower gas mileage or inspection failure.
Should I always go to a dealership for diagnostics?
Not necessarily, as many independent specialists have full access to factory-level diagnostic software and can perform the same repairs for a competitive price.
Will the check engine light turn off on its own?
Yes, if the underlying issue is resolved, the system may clear the code itself after several successful, error-free drive cycles.