
Key Takeaways
A differential oil change is a careful maintenance job, not simply a matter of removing one plug and adding fluid. The right specification, safe lifting, correct fill level, and a post-service inspection all matter.
- Confirm the model, drivetrain, fluid specification, and service interval before buying oil.
- Make sure the fill plug can be removed before draining the housing.
- Use secure lifting equipment and keep the vehicle level while checking the oil level.
- Inspect used fluid for water, debris, or metallic particles that may indicate internal wear.
- Stop and seek professional help if a plug is seized or the differential is noisy or damaged.
Understand the differential oil change
Differential oil lubricates the gears and bearings that allow driven wheels to rotate at different speeds while transferring engine torque. Over time, heat, moisture, and normal wear can reduce its condition. A sensible Land Rover differential oil change therefore combines fluid replacement with inspection of the housing, plugs, seals, and surrounding components.
What differential oil does
The oil forms a protective film between the meshing gears and supports the bearings inside the differential housing. It also carries heat away from these loaded parts. Because the differential works hard during towing, off-road driving, and repeated changes in traction, the condition of its lubricant deserves attention even when there is no obvious fault.
Signs the fluid needs attention
A whining, humming, or grinding sound that changes with speed can point to a problem, although noise alone does not identify the cause. Dampness around a housing or plug may indicate a leak, while a burnt smell or unusually dark fluid suggests the lubricant has worked hard. Fresh fluid will not repair worn gears, so symptoms should be treated as inspection clues rather than proof that an oil change will solve the issue.
When to follow the factory service schedule
The owner’s manual and official service information should take priority over a generic mileage recommendation. Interval requirements can vary with model year, axle design, driving conditions, towing, and water exposure. If the vehicle has been through deep water or has developed a leak, inspect it sooner rather than waiting for the next scheduled service.
How front, rear, and center differentials differ
A front or rear differential usually serves one axle, while a center differential or related transfer-case assembly manages torque between axles. Their plug locations, capacities, oil specifications, and service procedures may not match. The same vehicle can therefore require different fluids or tools at different housings, which is why a general differential oil change walkthrough is useful for preparation but cannot replace vehicle-specific instructions.
Confirm the correct fluid and specifications
Choosing oil by appearance or by a broad “gear oil” label is risky. The specification must match the housing and its internal components, and the required quantity must be known before work begins. Check the vehicle identification details carefully, especially when a model has more than one drivetrain or differential option.
Identify your Land Rover model and drivetrain
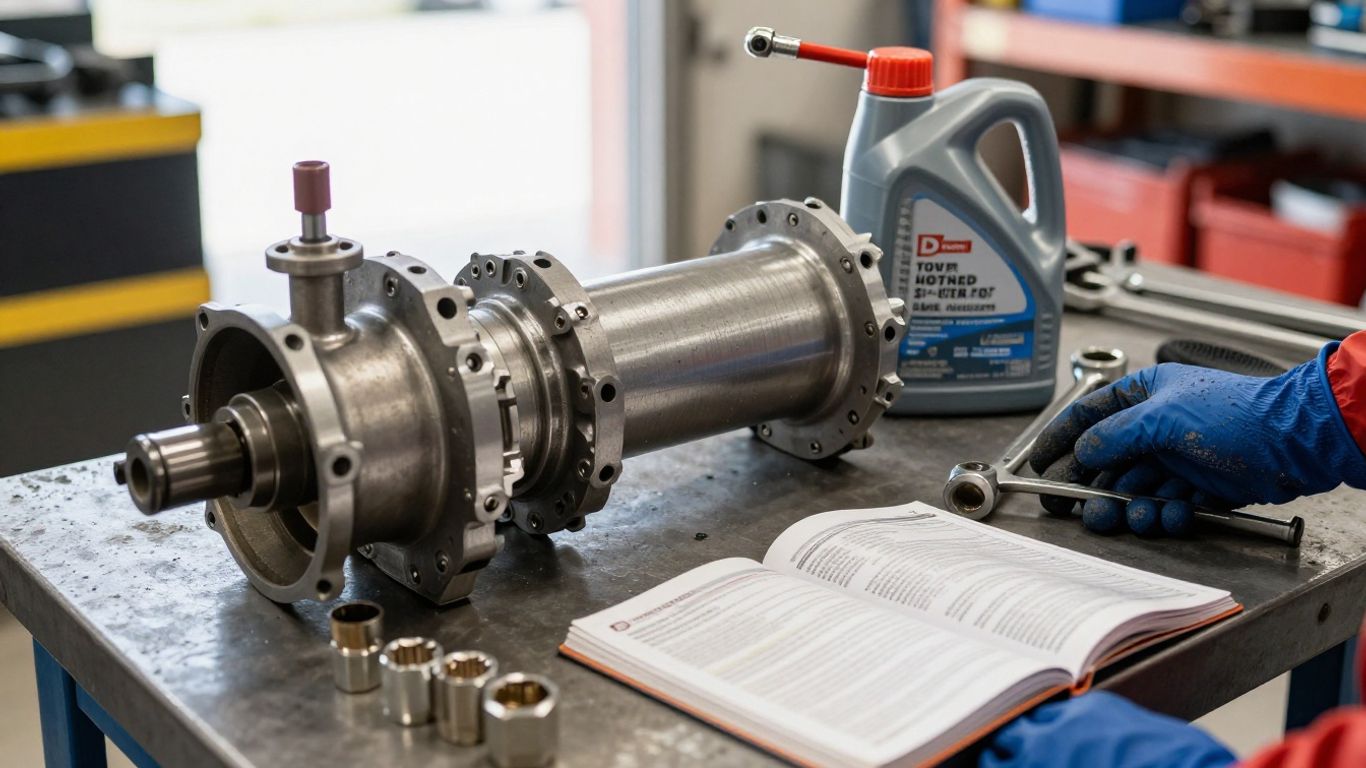
Record the model, model year, engine, transmission, and whether the vehicle is two-wheel drive or four-wheel drive. Then determine which differentials are actually fitted and whether any unit is limited-slip or electronically controlled. A visual check underneath can help, but it should support—not replace—the service information for that exact vehicle.
Check the owner’s manual and service information
Look for the fluid specification, viscosity, capacity, plug torque, sealing-washer requirements, and service interval. If the manual does not provide enough detail, use workshop information or ask a qualified technician before opening the housing. Keep the instructions beside you during the job rather than relying on memory.
Choose the correct differential oil viscosity
Viscosity is only one part of the selection. The required performance standard, additives, and formulation also matter, particularly where a special differential design is fitted. For comparison, a Range Rover Sport fluid selection page may help explain why vehicle-specific lubricants are sold, but the manufacturer’s stated specification remains the deciding authority.
A small capacity difference can also matter. Buy enough approved oil to complete the service without mixing unverified products, and retain the container or receipt so the exact fluid can be recorded afterward.
Understand limited-slip and electronically controlled differentials
Limited-slip units can require a particular friction-modifying additive or an oil that already contains the required chemistry. Electronically controlled differentials may have distinct specifications and filling procedures. Do not assume that oil suitable for a conventional axle is suitable for every unit; if the documentation is unclear, pause before draining anything.
Gather tools and prepare the vehicle
Good preparation prevents the most avoidable problems, especially a vehicle that is not level or a fill plug that will not move. Set aside enough time to clean the work area and dispose of used oil responsibly. A compact fluid filling guide can provide practical context about restricted access, but the vehicle’s own plug arrangement still comes first.
Essential tools and replacement parts
Prepare a drain pan, gloves, eye protection, cleaning solvent, rags, a suitable hand pump, correctly sized sockets or hex bits, and a torque wrench. Have the specified oil and new sealing washers available before starting. A wire brush can help clean external threads, but avoid pushing dirt into an open housing.
Safety equipment and lifting requirements
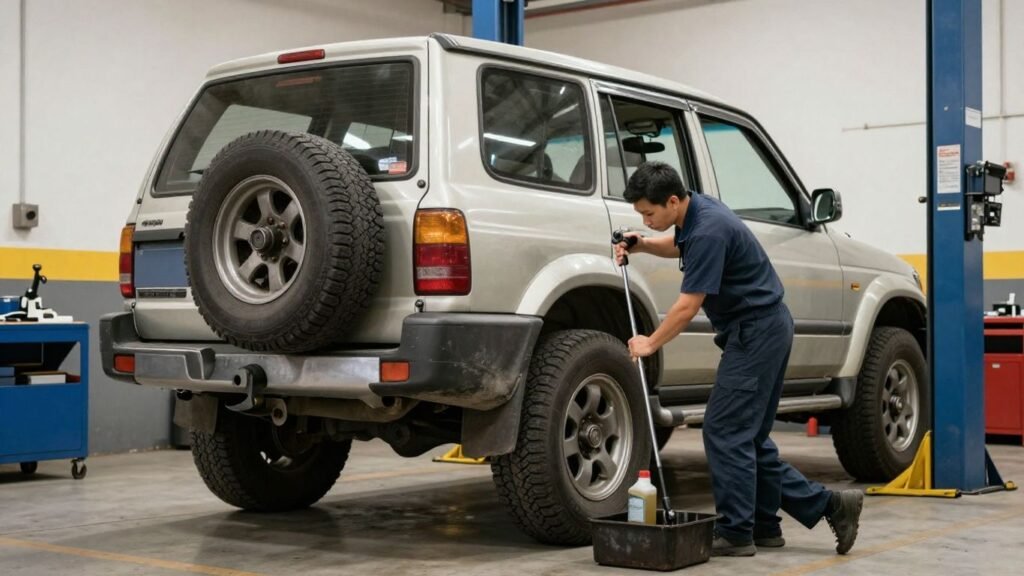
Use a level, firm surface and support the vehicle with equipment rated for its weight. Chocks, axle stands, and a stable lifting method are essential; never rely on a jack alone while working underneath. Wear eye protection because used gear oil can drip unpredictably, and allow hot components to cool enough for safe handling.
Locating the fill and drain plugs
Identify both plugs before removing either one. The fill plug is often on the side or upper portion of the housing, while the drain plug is lower, but layouts vary. Check that your tool fully engages the plug and that there is enough room to turn it without rounding the fastener.
Checking for leaks before starting
Clean enough of the housing to distinguish old residue from fresh oil. Look around the axle seals, pinion area, cover, and both plugs. A leak may have lowered the fluid level or contaminated nearby components, so note its location and plan to correct it rather than treating the oil change as a complete repair.
Drain the old differential oil
Drainage is straightforward only when the vehicle is secure and the plugs are serviceable. Work methodically, because the used oil may be hot and the initial flow can be stronger than expected. Place the pan so it catches oil from the plug and from the housing as it runs down the casing.
Warm the vehicle and position it safely
A short drive can warm the oil and help it flow, but avoid heating the housing excessively. Park on a level surface, apply the parking brake, chock the wheels, and lift and support the vehicle according to the approved procedure. The vehicle needs to remain stable and as level as practical for both draining and refilling.
Remove the fill plug first
Always test the fill plug before opening the drain. If the fill plug is seized or damaged, you do not want an empty housing that cannot be refilled. Once it loosens, leave it in place temporarily or remove it carefully after the drain pan is positioned, depending on the service instructions.
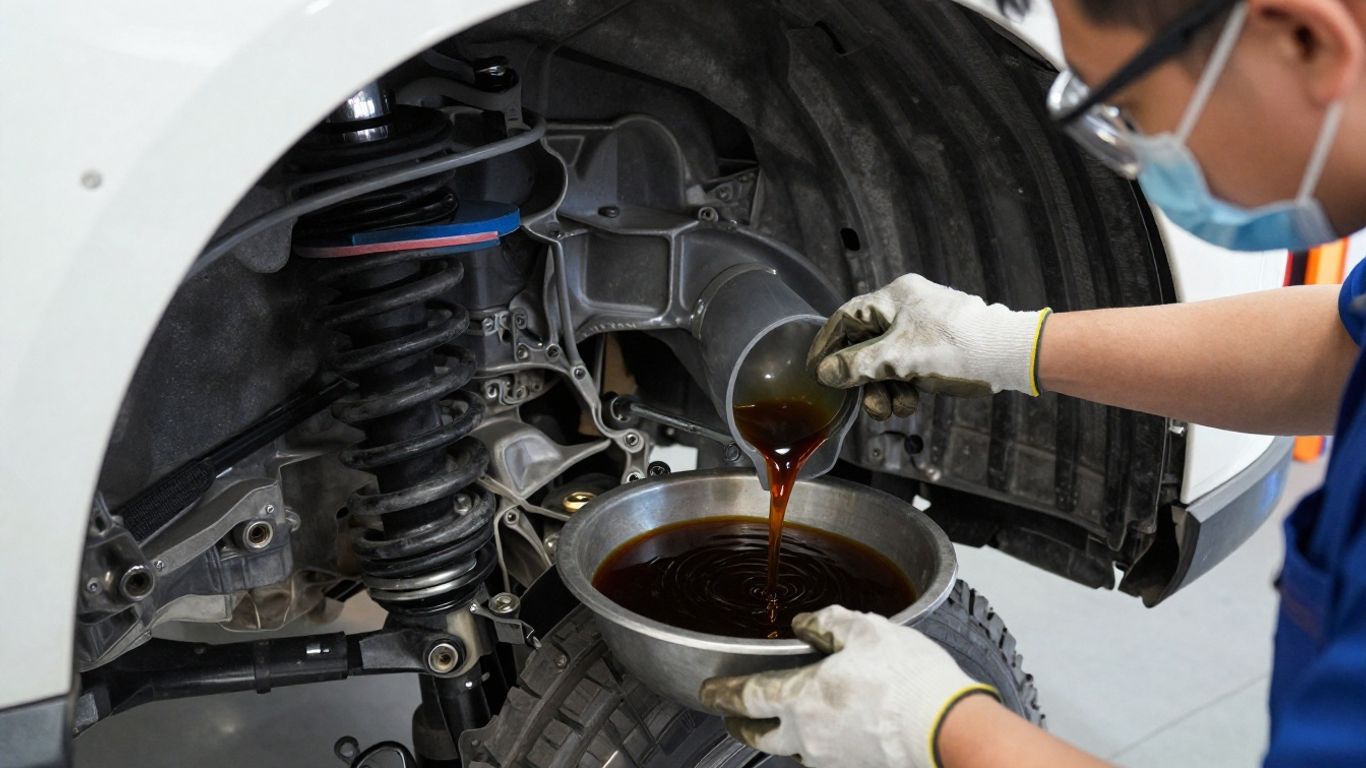
Drain and inspect the used oil
Remove the drain plug and let the oil flow until it has reduced to a slow drip. Examine the oil in good light and inspect any magnetic plug for a light paste of fine particles versus larger fragments. This front and rear fluid procedure also illustrates why debris found during draining should prompt a closer look rather than being dismissed.
Replace damaged sealing washers or plugs
A crushed, split, or flattened sealing washer may not seal again reliably. Replace it with the correct part, and replace a plug if its threads, head, or sealing face are damaged. Do not use excessive force to compensate for a poor seal; that can damage the housing or make the next service harder.
Refill the differential correctly
Refilling is about reaching the specified level without introducing dirt or forcing oil past a seal. Keep the container and pump clean, and use only the fluid confirmed earlier. The housing should be filled according to the service procedure, not according to the amount that happened to drain out.
Clean the drain and fill plug threads
Wipe the plugs and inspect their sealing surfaces before reinstalling them. Remove residue from the outside of the housing and clean the threads carefully. Clean threads improve sealing and make the specified torque more meaningful, but they cannot correct stripped or cross-threaded parts.
Add oil to the correct level
Install the drain plug with its new washer as directed, then pump the approved oil through the fill opening. On a level vehicle, the correct level is commonly defined by the service information and may be reached when oil begins to approach the opening, but do not rely on that assumption when the manufacturer specifies another method. Allow excess oil to settle and stop when the stated level is reached.
Avoid overfilling the housing
Too much oil can cause churning, heat, pressure, and leakage, while too little leaves gears and bearings inadequately lubricated. Keep the pump nozzle clean and avoid repeatedly forcing oil into a restricted opening. If the quantity and level do not agree, stop and verify the procedure rather than adding more by guesswork.
Reinstall and torque the plugs
Fit the fill plug with the correct washer or seal, start it by hand, and tighten it using the specified torque. Do the same for the drain plug if it was not already secured. If the service information calls for a replacement plug or sealant, follow that instruction exactly and wipe away excess oil so later leak checks are clear.
Inspect the system after the service
The job is not finished when the plugs are tight. A short inspection immediately afterward can catch a damaged washer, a loose plug, or oil that has migrated from an existing seal. Take a few minutes to clean the housing and make the follow-up easier to read.
Check for leaks around the plugs and seals
Look closely at both plugs, the axle seals, the pinion seal, and any cover joint. A dry surface after cleaning gives you a useful baseline. Recheck after the first drive and again once the vehicle has cooled; fresh wetness should be investigated rather than simply wiped away.
Listen for abnormal differential noise
Pay attention to whining, clunking, grinding, or a new humming sound. Changes during acceleration, deceleration, or cornering can help a technician narrow the source, though they are not a diagnosis by themselves. New or worsening noise after service warrants stopping the test and arranging an inspection.
Test-drive the vehicle carefully
Begin at low speed on a quiet route and confirm that there are no warning lights, fluid smells, or unusual vibrations. Gradually include normal acceleration and gentle turns, without towing or demanding off-road conditions immediately after the service. Park on a clean surface afterward so any fresh drip is easy to spot.
Record the fluid type, mileage, and service date
Write down the date, odometer reading, serviced housing, fluid brand and specification, quantity used, and any observations. A clear record makes the next interval easier to plan and gives a technician useful context if a noise or leak appears later. It also prevents uncertainty when several differentials or fluid types are involved.
Know when professional service is needed
A fluid change is reasonable only when the housing and fasteners are in sound condition and the correct information is available. Internal damage, contamination, or an electronic fault can require work beyond draining and refilling. A practical differential maintenance reference may add general reading, but unrelated system information should never be used to improvise an axle repair.
Recognize worn bearings and gear damage
Persistent whining, rumbling, backlash, vibration, or a clunk under load may indicate worn bearings, gears, shafts, or mounts. These faults require diagnosis with the vehicle on suitable equipment and may involve measuring backlash or bearing preload. Fresh oil cannot restore damaged metal, so do not keep driving in the hope that the noise will disappear.
Address contaminated or metallic fluid
Water, milky oil, a strong burnt odor, or more than a light coating of fine magnetic paste deserves attention. Larger chips, glitter-like metal, or broken fragments are warning signs of internal wear. Save a small sample or photograph the debris if useful, then have the unit assessed before refilling and returning the vehicle to heavy use.
Handle difficult or seized plugs
Stop if a plug begins to round, the tool slips, or the housing threads appear damaged. Penetrating fluid and careful cleaning may help with external corrosion, but heat, impact tools, or drilling near an oil-filled housing can create new risks. A technician has the extraction tools and repair options needed to protect the casing.
Understand when calibration or diagnostic work may be required
Some electronically controlled drivetrains may need diagnostic checks, software procedures, or calibration after a related repair. Warning lights, drivetrain messages, or abnormal operation should not be ignored simply because fresh oil has been installed. When the repair involves sensors, actuators, or control modules, professional diagnostic work is the safer next step.
Conclusion
A careful Land Rover differential oil change starts with the exact specification and ends with a leak check, a cautious drive, and a service record. Work on a level, securely supported vehicle, remove the fill plug first, inspect the old oil, and stop when the condition of the hardware or fluid suggests a deeper problem.
Frequently Asked Questions
How often should differential oil be changed?
Follow the vehicle’s factory schedule and adjust for towing, off-road use, deep-water exposure, or a known leak. The correct interval varies by drivetrain and differential design.
Can front and rear differentials use the same oil?
Not necessarily. Even on one vehicle, different housings may require different specifications, viscosities, additives, or quantities. Confirm each unit separately before purchasing fluid.
Why should the fill plug be removed first?
Testing the fill plug first confirms that the housing can be refilled. Draining first can leave the vehicle immobilized if the fill plug is seized or its threads are damaged.
What does metallic debris in differential oil mean?
A small amount of fine paste on a magnetic plug can occur with wear, but larger particles, chips, or glitter-like metal can indicate gear or bearing damage. Arrange an inspection before continued heavy use.
Is it safe to change differential oil with only a jack?
No. A jack is for lifting, not for supporting a vehicle while you work underneath it. Use properly rated stands or an approved lift on a firm, level surface, with the wheels secured.
Can overfilling a differential cause problems?
Yes. Excess oil can churn, increase heat and pressure, and contribute to leaks. Fill only to the specified level with the vehicle positioned as required by the service procedure.
What should I do if the differential is noisy after an oil change?
Stop and identify when the noise occurs, such as during acceleration, deceleration, or turns. Recheck for leaks and fluid-level problems, then have the differential professionally diagnosed if the noise persists or worsens.