
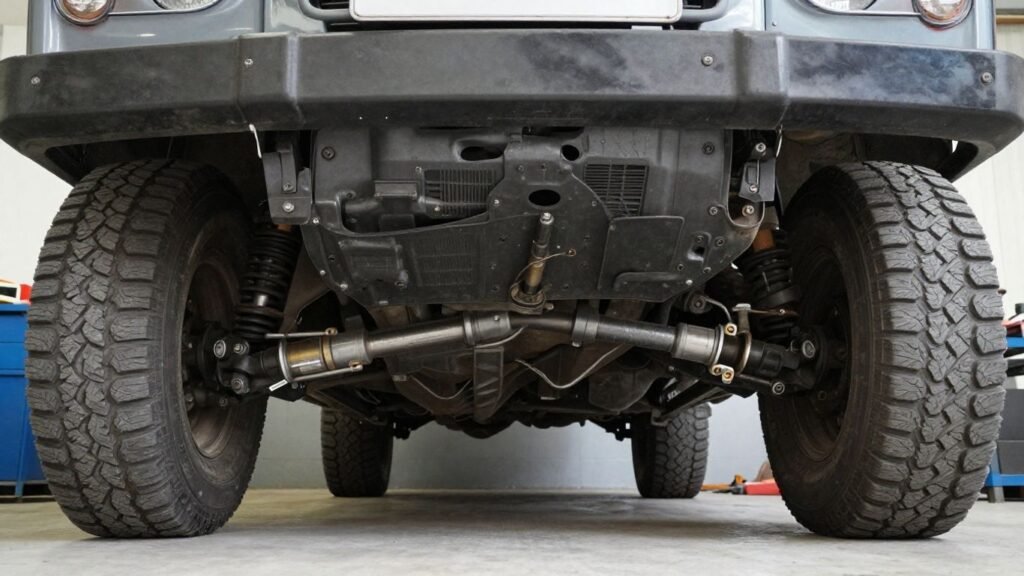
Key Takeaways
A vibration is easier to diagnose when you first classify it by speed, engine load, and accompanying noise. A careful inspection can prevent unnecessary parts replacement and reveal when the vehicle should be parked.
- A vibration that rises with road speed often points toward rotating driveline or wheel components.
- A shudder under throttle can relate to joint wear, driveline angles, or loose hardware.
- Universal joints, constant-velocity joints, center support bearings, and shaft balance deserve close inspection.
- Suspension lifts and other modifications can alter propshaft angles and expose worn components.
- Persistent, worsening, or severe vibration calls for professional diagnosis before further driving.
Recognizing the type of vibration
The word “vibration” covers several different sensations, so the first useful step is to describe exactly when it occurs. Note the vehicle speed, engine speed, throttle position, road surface, and whether the sensation changes while cornering. These details help separate a rotating imbalance from a load-related joint or angle problem.
Vibration that changes with vehicle speed
If the vibration increases as the vehicle travels faster, even when engine speed stays relatively stable, inspect components that rotate with the wheels and driveline. A propshaft, drive shaft, wheel, or tire can create a rhythmic shake that becomes more obvious at a particular speed range. A vibration that remains after lifting off the throttle deserves attention rather than a quick assumption that the engine is responsible.
The sensation may be felt through the seat, floor, steering wheel, or center console. Location is useful, but it is not conclusive; vibrations can travel through the body and appear to come from a nearby component.
Vibration that follows engine speed
A sensation that follows engine rpm rather than road speed may originate closer to the engine, transmission, or another rotating assembly. Test this distinction only in a controlled setting, without aggressive acceleration or unsafe driving. If the vibration appears while stationary as the engine is revved, the drive shaft becomes less likely as the primary cause.
Road speed and engine speed can change together in normal driving, which makes this comparison easy to misread. A technician may need to reproduce the symptom in different gears or under carefully controlled load conditions.
Shuddering during acceleration or deceleration
A shudder that is strongest when accelerating, climbing, or carrying a load often suggests a component reacting to driveline torque. Worn joints, excessive operating angles, loose flanges, and damaged mounts can all become more apparent when torque reverses or increases. If the shudder began after a suspension lift, altered driveline geometry should move higher on the inspection list.
Deceleration can reveal a different side of the same fault. A worn connection may clunk or vibrate as the load changes from driving to coast, especially if there is looseness in a joint or flange.
Clunks, humming, and other accompanying symptoms
A clunk when pulling away, changing from drive to reverse, or coming off the throttle can indicate play somewhere in the driveline. Humming may point toward a bearing or differential-related concern, while clicking during a turn can shift attention toward a constant-velocity joint or another rotating connection. None of these sounds identifies a failed part by itself.
Write down when the sound occurs and whether steering angle, throttle, or braking changes it. That record is often more useful than trying to describe the noise as simply “loud” or “rough.”
Common causes of Land Rover drive shaft vibration
A Land Rover drive shaft vibration may come from one worn part, but it can also result from several smaller problems working together. Shafts operate under changing loads, and a component that seems acceptable by eye may still have measurable play or imbalance. Diagnosis should therefore cover the complete driveline rather than focusing on the most visible item.
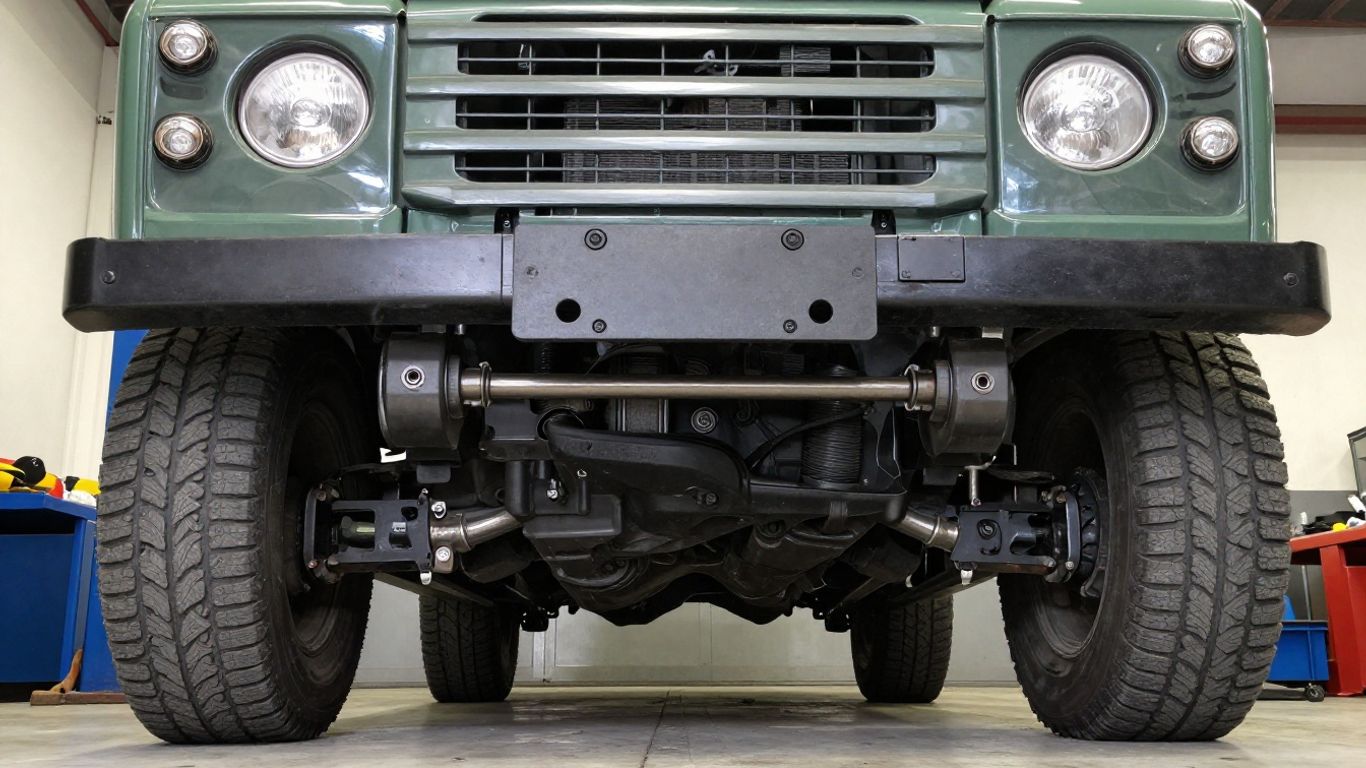
Worn universal joints and constant-velocity joints
Universal joints can develop stiffness, corrosion, or looseness, while constant-velocity joints may wear in ways that become more noticeable under load or during turns. A joint that binds does not always produce the same symptom as one with obvious free play. Grease loss, torn protective boots, rust dust, and abnormal movement are useful clues during inspection.
Correct component identification matters because a propshaft joint and a drive shaft constant-velocity joint are not interchangeable diagnoses. Replacing the wrong assembly can leave the original vibration untouched.
Damaged or imbalanced drive shafts
A shaft can be bent by an impact, damaged during off-road use, or disturbed during previous work. Missing balance weights, dents, altered tubing, and witness marks around the shaft should be recorded before removal. Even a shaft that looks straight may require specialist balancing equipment to confirm its condition.
A useful overview of speed-related symptoms and angle-related shudder is available in this drive shaft vibration guide. It can help organize observations, but it should not replace a physical inspection.
Failing center support bearings
Two-piece propshafts may use a center support bearing to hold the shaft and control its movement. As the bearing or its rubber support deteriorates, vibration can appear through the floor and may become more pronounced under acceleration. Sagging, cracking, or excessive movement around the support are warning signs.
Because the bearing works with the shaft alignment, replacing it without checking the surrounding joints, shaft position, and mounting hardware may produce only a temporary improvement.
Loose, worn, or misaligned driveline components
Loose flange bolts, worn mounts, damaged couplings, and incorrect installation can all create movement where the driveline should remain controlled. A recently repaired vehicle deserves special attention to fastener seating and alignment. A complete driveline inspection is usually more reliable than replacing the part nearest the strongest sensation.
The following clues are useful for deciding where to begin, not for declaring a final diagnosis:
- Speed-dependent vibration: inspect rotating assemblies, shaft balance, and wheel-end possibilities.
- Load-dependent shudder: inspect joints, driveline angles, mounts, and flange connections.
- Vibration after modification: compare current geometry with the vehicle’s original arrangement.
- Worsening clunk or looseness: minimize driving and arrange a hands-on inspection.
These patterns narrow the search, but a road test and lift inspection should be combined before ordering expensive parts.
How to diagnose the source safely
Diagnosis should begin with observation and proceed toward measurements, not with a high-speed test drive. Park on a level surface, use suitable supports, and never work beneath a vehicle held only by a jack. A rotating shaft can cause severe injury, so hands and clothing must stay clear whenever the vehicle is running.
Inspecting the drive shaft and mounting hardware
With the vehicle safely supported, look for dents, corrosion, missing balance weights, torn boots, leaking grease, and damaged rubber supports. Check flange areas for shifted hardware or evidence that bolts have moved. Do not assume that a clean-looking shaft is sound; internal joint wear and imbalance may not be visible.
If the vehicle has recently undergone suspension, exhaust, or driveline work, compare every connection with the service procedure. Incorrect orientation or trapped wiring and shields can also create noise that resembles a driveline fault.
Checking for play in joints and bearings
Excessive movement at a joint, flange, or center support is a meaningful clue, but the absence of obvious play does not clear the part. Some joints bind through their travel rather than loosen, and some bearings become noisy only when loaded. Use the correct inspection method for the specific vehicle and component.
A professional can distinguish normal movement from harmful looseness more accurately than a casual hand test. Avoid forcing components beyond their designed range, since that can damage a serviceable joint or create a new problem.
Comparing vibration under different driving conditions
A controlled comparison can show whether the vibration follows road speed, engine rpm, throttle, or steering angle. Record the conditions rather than repeatedly trying to provoke the symptom at increasing speed. If the vibration becomes severe, changes suddenly, or is accompanied by a loud knock, stop the test.
For a useful comparison, vary only one factor at a time where safe. This simple table can make the pattern clearer for both the owner and the repair shop:
| Observation | What it may suggest | Next inspection |
|---|---|---|
| Rises with road speed | Rotating shaft, wheel, or tire issue | Check balance, runout, and joints |
| Changes with engine rpm | Engine-side or transmission-side source | Compare stationary and road symptoms |
| Strongest under throttle | Joint wear, angle, or mount movement | Inspect loaded driveline connections |
| Appears after a lift | Changed operating geometry | Measure angles and check clearances |
The table is a starting framework, not a parts list. A vibration can have more than one source, and road conditions can disguise the original pattern.
When professional driveline measurements are needed
Seek specialist help when the fault cannot be reproduced safely, when the shaft requires balancing, or when driveline angles need measurement. Professional equipment can check runout, balance, bearing condition, and alignment with more precision than visual inspection. It is also the sensible route when a replacement has failed to cure the symptom.
A technical workshop guide can help distinguish propshaft and drive shaft terminology in models such as the Discovery 4, Freelander 2, and Series 3; see this propshaft diagnosis guide. For unrelated health questions, readers should use a clinician-led resource such as understanding test results, rather than drawing mechanical analogies into medical decisions.
Model-specific problems to investigate
Land Rover and Range Rover vehicles use different layouts, shaft arrangements, and driveline systems across generations. The same symptom can therefore point to different inspection priorities depending on the model, engine, transmission, and whether the vehicle is four-wheel drive. Confirm the exact configuration before buying a shaft or joint.
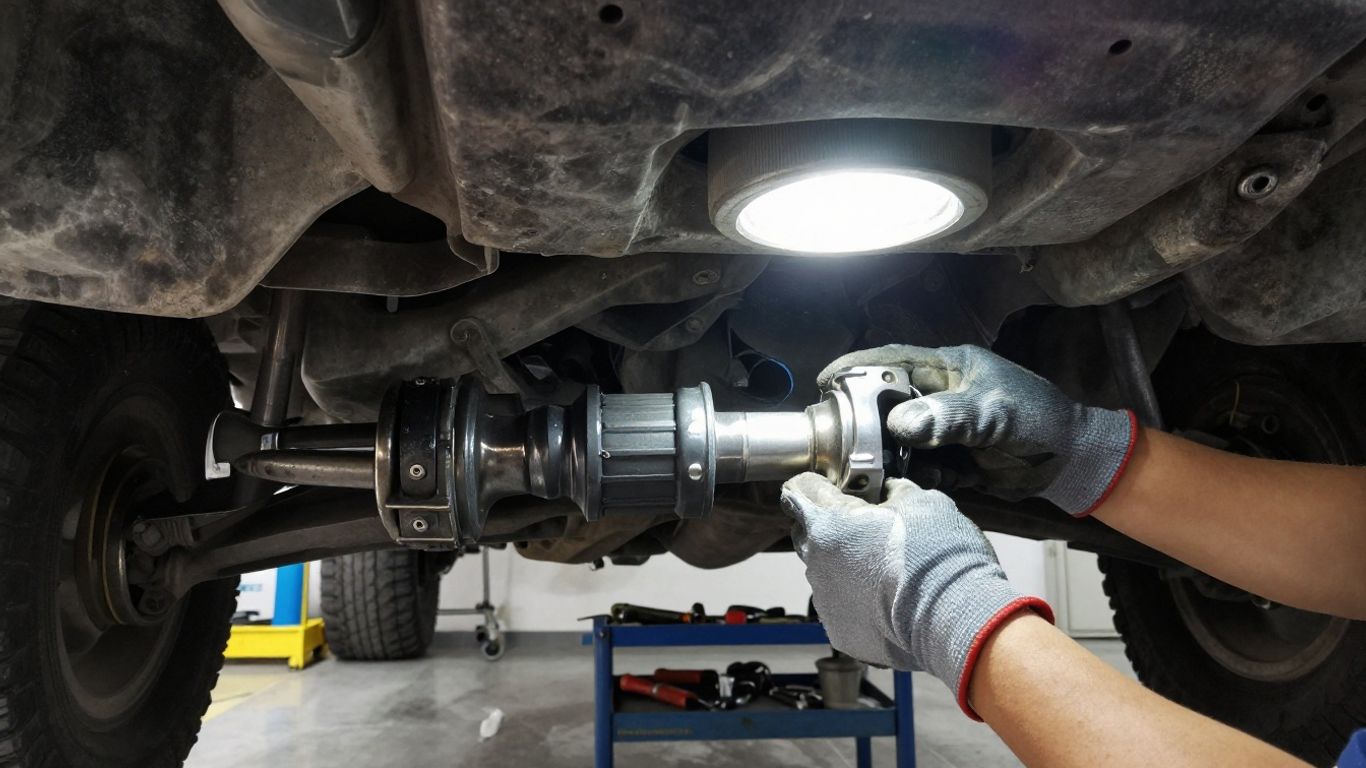
Front and rear propshaft wear patterns
Front and rear propshafts can develop different wear patterns because their angles, exposure, and operating loads are not identical. A vibration felt mainly through the front floor does not prove the front shaft is at fault, but it is a reasonable place to begin. Inspect both ends, the center support where fitted, and the flange connections.
Some vehicles use two-piece shafts, making center-bearing condition especially relevant. Component terminology varies, so a Land Rover driveline guide can provide general symptom context before the vehicle is examined in person.
Transfer case and differential concerns
A vibration accompanied by whining, fluid leakage, binding, or a change during turning may involve the transfer case, differential, or their mounting and flange areas. These assemblies can also transmit noise from a damaged bearing or gear set. Do not condemn an entire unit from vibration alone; verify fluid condition, backlash, mount condition, and shaft connections.
The correct diagnostic order matters. A worn joint can mimic a more expensive internal fault, while a damaged flange can cause repeated joint or shaft failures if it is left in place.
Suspension lift and driveline angle changes
Changing ride height changes the relationship between the transmission, transfer case, differential, and shaft. Even when a lift is installed correctly, the new angles may expose a joint that was already worn or push it beyond a comfortable operating range. A vibration that starts immediately after modification deserves a geometry review.
Measure rather than guess. Check clearance at full suspension travel, inspect joint articulation, and confirm that mounts and fasteners remain secure after the vehicle settles.
Differences between Land Rover and Range Rover platforms
Model names alone do not identify the exact driveline. Wheelbase, generation, engine, transmission, and four-wheel-drive equipment can alter the relevant shaft and bearing arrangement. Parts catalogs and workshop procedures should be matched to the vehicle identification number, not just a broad family name.
Owner reports can offer clues, but they are not proof that every vehicle shares the same failure. A forum discussion about a speed-dependent vibration, for example, may be useful as owner vibration observations, provided its symptom pattern is compared carefully with the vehicle in front of you.
Repair and replacement options
The right repair depends on the confirmed fault, not simply on how strong the vibration feels. Some components can be serviced individually, while others are best replaced as a complete balanced assembly. Before work begins, identify the cause of the failure so a new part is not exposed to the same damaged mount, flange, or angle.
Replacing universal joints or constant-velocity joints
Replace a universal joint or constant-velocity joint when inspection confirms wear, binding, damage, or loss of lubrication. The surrounding shaft yokes, boots, circlips, flanges, and fasteners should be checked at the same time. A joint replacement is only durable when its mating components are also sound.
Use parts designed for the exact application and follow the specified installation orientation. Improper seating or contamination during assembly can create a vibration that looks like the original fault.
Balancing or replacing the drive shaft
A shaft with measurable imbalance or runout may be repairable by a driveline specialist, depending on its construction and damage. If tubing, yokes, or splines are badly damaged, replacement may be safer and more economical. Balancing should be performed with the complete relevant assembly configured correctly.
Do not confuse wheel balance with shaft balance. Both can produce speed-related vibration, and a wheel-end check is sensible before committing to major driveline work.
Repairing center support bearings and mounts
A worn center support bearing or cracked rubber mount is commonly replaced with the shaft position and alignment carefully preserved. Marking orientation before disassembly can help, but it does not replace the manufacturer’s procedure. Inspect the shaft’s surrounding joints and support points while access is available.
After reassembly, verify fastener torque, shaft phasing where applicable, clearance, and smooth movement. A new support cannot compensate for a bent shaft or a damaged flange.
Addressing transfer case, differential, or flange damage
If the shaft checks out but vibration, noise, or leakage remains, inspect the transfer case, differential, mounts, and flanges. A worn flange or distorted mounting surface can quickly damage newly installed joints. Internal gearbox or differential repairs require accurate measurements and specialist knowledge.
A second inspection is worthwhile when a repair changes the symptom but does not remove it. Partial improvement can indicate that one fault was corrected while another remains.
Preventing recurring driveline vibration
Preventing repeat vibration is mostly a matter of correct assembly, regular inspection, and responding early to changes. Off-road impacts, water exposure, suspension modifications, and neglected lubrication can shorten component life. A service record that includes symptoms and replaced parts makes future diagnosis much easier.
Using correct parts and torque specifications
Use the exact part specification for the vehicle’s model and driveline configuration. Fasteners should be clean, correctly seated, and tightened according to the applicable service procedure. Over-tightening and under-tightening can both damage joints, flanges, or mounts.
When a shaft is removed, preserve its orientation where required and avoid dropping or dragging it by a joint or boot. Small assembly mistakes can become a persistent high-speed vibration.
Maintaining lubrication points and service intervals
Follow the service schedule for lubrication points, joint inspection, fluids, and protective boots. Not every modern component is lubricated in the same way, so do not add grease to a sealed joint unless the service information permits it. Leaks and torn boots should be addressed before dirt and moisture accelerate wear.
Keep records of when lubrication and fluid checks were completed. For general lifestyle questions unrelated to vehicle maintenance, resources such as a mineral supplement guide belong in a separate health context, not in a driveline service plan.
Checking modifications after suspension changes
Recheck driveline angles, clearances, mounts, and fastener security after a lift, spring change, or major suspension repair. New vibration is not always an unavoidable feature of a modification; it may reveal an incorrect installation or a component operating outside its intended range.
If the vehicle is used off-road, inspect the shaft and flanges after hard impacts or deep water crossings. Early attention can prevent a small bend or torn boot from becoming a complete shaft failure.
Knowing when to stop driving the vehicle
Stop driving and arrange recovery when vibration is severe, rapidly worsening, or accompanied by clunking, scraping, fluid loss, visible shaft damage, or strong movement beneath the vehicle. A failing rotating component can damage nearby systems and may separate at speed. Continuing to drive simply because the vehicle still moves can turn a manageable repair into a dangerous one.
When symptoms are mild and stable, drive only as far as necessary to reach a qualified repair facility, avoiding high speeds and heavy loads. If there is any doubt about safety, do not road-test the vehicle.
Conclusion
Land Rover drive shaft vibration is a symptom, not a diagnosis. Sorting it by speed, load, noise, and recent vehicle changes helps narrow the cause, while a safe inspection confirms whether the problem lies in a joint, bearing, shaft, mount, angle, flange, or another driveline assembly. Prompt attention is the best way to protect both the vehicle and its occupants.
Frequently Asked Questions
What causes Land Rover drive shaft vibration?
Common possibilities include worn universal joints, damaged or imbalanced shafts, failing center support bearings, loose mounts, altered driveline angles, and problems at transfer case or differential flanges. The exact cause requires inspection.
How can I tell whether vibration is speed-related?
Notice whether the vibration follows road speed even when the engine is turning at a different rpm. If it changes with vehicle speed but not gear selection, rotating wheel or driveline components deserve attention.
Is a shudder under acceleration serious?
It can be. A load-related shudder may indicate joint wear, excessive driveline angles, loose hardware, or a failing mount. Avoid hard acceleration until the source has been checked.
Can a suspension lift cause driveline vibration?
Yes, changing ride height can alter shaft operating angles and clearances. A new vibration after a lift should prompt an inspection of geometry, joint articulation, mounts, and fastener security.
Should I replace the entire drive shaft?
Not always. Some joints, bearings, or mounts may be serviceable individually, while a bent, badly worn, or unbalanced assembly may be better replaced. The decision should follow measurement and inspection.
Can wheel imbalance feel like a drive shaft problem?
Yes. Wheel or tire imbalance can create a similar speed-related sensation, so wheel-end checks should be included before major driveline replacement. The location of the vibration alone is not definitive.
When should I stop driving because of vibration?
Stop when the vibration is severe or worsening, or when it comes with clunks, scraping, visible damage, fluid leaks, or unusual shaft movement. Recovery is safer than risking component separation or secondary damage.