

Key Takeaways
Cleaning a MAF sensor can be a useful maintenance step, but diagnosis comes first. Work gently, use the correct cleaner, and allow every component to dry before starting the engine.
- Confirm the sensor is a likely cause before removing it.
- Use dedicated MAF cleaner and avoid touching the sensing elements.
- Check intake leaks, the air filter, wiring, and stored fault codes.
- Reinstall every seal, clamp, and connector carefully.
- Seek professional diagnosis if symptoms remain after cleaning.
Understand the mass airflow sensor and its role
The mass airflow sensor sits in the engine’s intake path and reports incoming air volume to the engine computer. That information helps the computer determine how much fuel to deliver. A careful approach to Land Rover mass airflow sensor cleaning starts with understanding that this is a delicate measuring device, not an ordinary metal or plastic fitting.
What the MAF sensor measures
The MAF sensor measures the mass of air moving through the intake toward the engine. Its signal changes as airflow changes, allowing the control system to adjust fueling as the engine load varies. Because the measurement is used while the engine is running, even a small error can affect how the vehicle responds.
Symptoms of a dirty or failing sensor
A contaminated or failing sensor may be associated with rough idle, hesitation, sluggish acceleration, poor fuel economy, or an illuminated check-engine light. None of these signs proves the MAF is at fault, since intake leaks, ignition problems, fuel issues, and wiring faults can create similar behavior. A symptom guide such as common MAF warning signs can help you build an initial list, but testing still matters.
How the sensor affects engine performance
When the reported airflow does not match the air actually entering the engine, fueling may be less accurate than intended. The result can be an uneven idle, delayed throttle response, or a feeling that the engine is working harder than usual. Accurate airflow data matters because the computer is relying on that signal alongside other engine inputs.
When cleaning may not solve the problem
Cleaning cannot repair a cracked housing, damaged sensing element, broken wiring, poor connector contact, or an internal electronic fault. It also will not correct an air leak downstream of the sensor. If the same fault returns quickly, or the engine runs worse after the work, stop replacing parts at random and arrange a proper diagnostic inspection.
Confirm that the MAF sensor is the source of trouble
Before opening the intake system, establish a sensible starting point. Record the symptoms, note when they occur, and scan the vehicle if you have access to a compatible diagnostic tool. This prevents a clean sensor from becoming a distraction while another problem remains untreated.
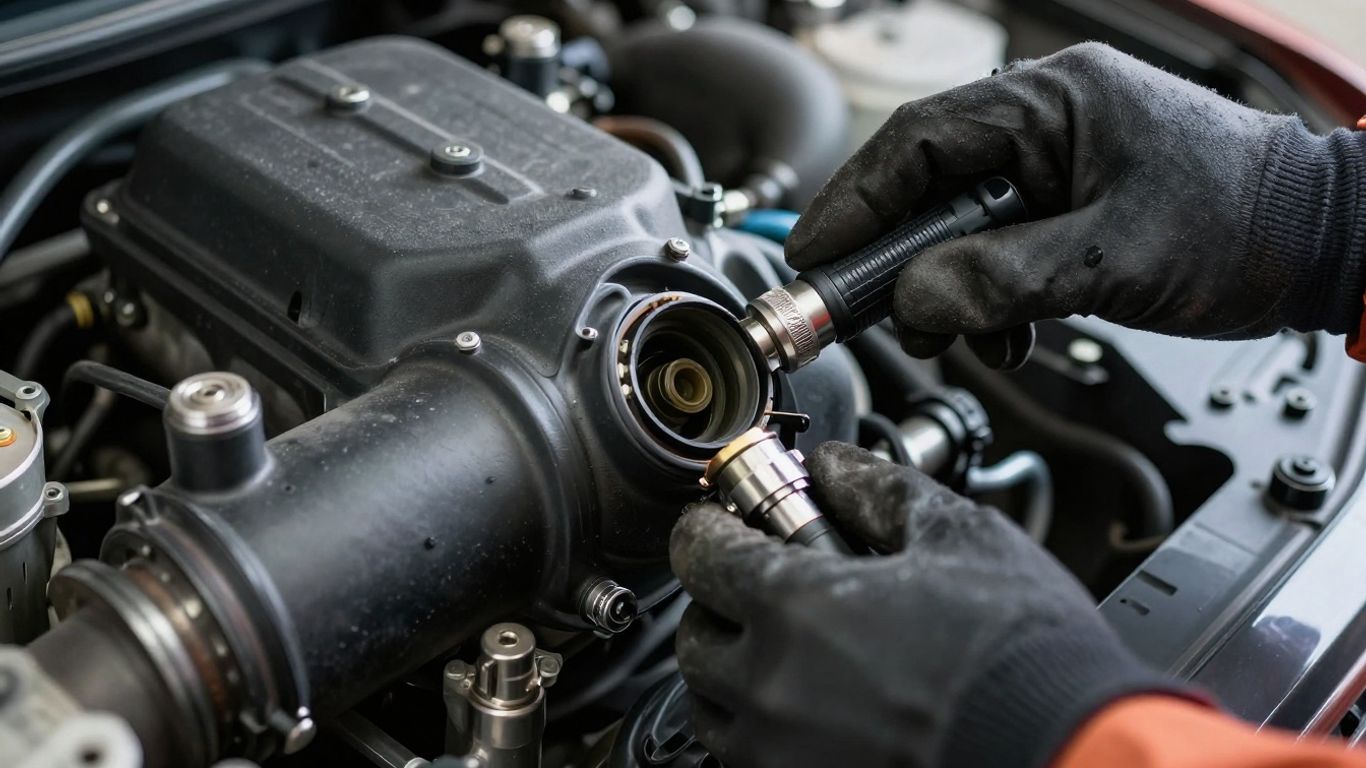
Reading diagnostic trouble codes
A scan tool may reveal airflow-related or mixture-related codes, but a code is a clue rather than a verdict. Write down the exact code and any freeze-frame information before clearing anything. The engine computer may have detected a reading outside its expected range, yet the cause could still be a leak, wiring issue, or another component.
Checking for air intake leaks
Inspect the intake tube from the air box toward the throttle body. Look for splits in flexible sections, loose clamps, displaced seals, or a connection that is not fully seated. Unmetered air entering after the MAF can mimic sensor contamination, so cleaning the sensor alone would not address the underlying fault.
Inspecting the air filter and wiring
A heavily loaded air filter can restrict airflow, while an incorrectly fitted filter can allow dust to reach the sensor. Examine the connector for bent terminals, moisture, corrosion, or a latch that does not hold. Do not pull on the wires themselves; release the connector using its locking tab and inspect it in good light.
Distinguishing contamination from sensor failure
A visible film or dust deposit supports the case for cleaning, but appearance is not a complete test. Compare the symptoms with scan data, inspect the surrounding intake, and consider whether the problem began after filter or intake work. If the signal remains implausible with a sound intake and connector, replacement or professional testing may be more appropriate than repeated cleaning.
Gather the right tools and supplies
Preparation makes this job calmer and safer. Work with the engine switched off and cool, choose a clean area, and keep removed fasteners where they cannot fall into the intake. The goal is to expose the sensor only long enough to clean and inspect it.
Choosing a dedicated MAF sensor cleaner
Use a cleaner specifically labeled for mass airflow sensors and follow its directions. The spray should evaporate without leaving a residue. Avoid improvising with a household degreaser or a product intended for a different electrical or mechanical surface.
Selecting basic hand tools
The exact fastener type varies by vehicle and sensor housing, so check the relevant service information before beginning. Usually, you need the correctly sized driver or socket, a clean cloth for nearby surfaces, safety glasses, and disposable gloves. A flashlight is useful for checking the intake tube and connector without leaning or forcing anything.
Protecting the sensor and surrounding components
Keep the open intake facing away from loose dust and cover the opening briefly with a clean, lint-free material if there will be a delay. Do not allow cleaner to pool in the housing or run toward another electrical component. A tidy work area is especially helpful because the sensing elements are easy to damage and difficult to replace separately.
Products and methods to avoid
Do not scrub the sensing wires or film, wipe them with a cloth, blow them aggressively with compressed air, or use a brush. Avoid carburetor cleaner, brake cleaner, and oily sprays unless the vehicle manufacturer specifically directs otherwise. Guidance about a simple sensor-cleaning process can provide useful context, but the product label and vehicle service information should control the details.
Remove the Land Rover MAF sensor safely
Removal is generally straightforward, but the sensor should never be treated as a handle for the intake tube. Photograph the arrangement before loosening anything, particularly if the housing has an airflow-direction arrow or a sealing ring. Keeping the work slow reduces the chance of reversing the sensor or pinching a seal during reassembly.
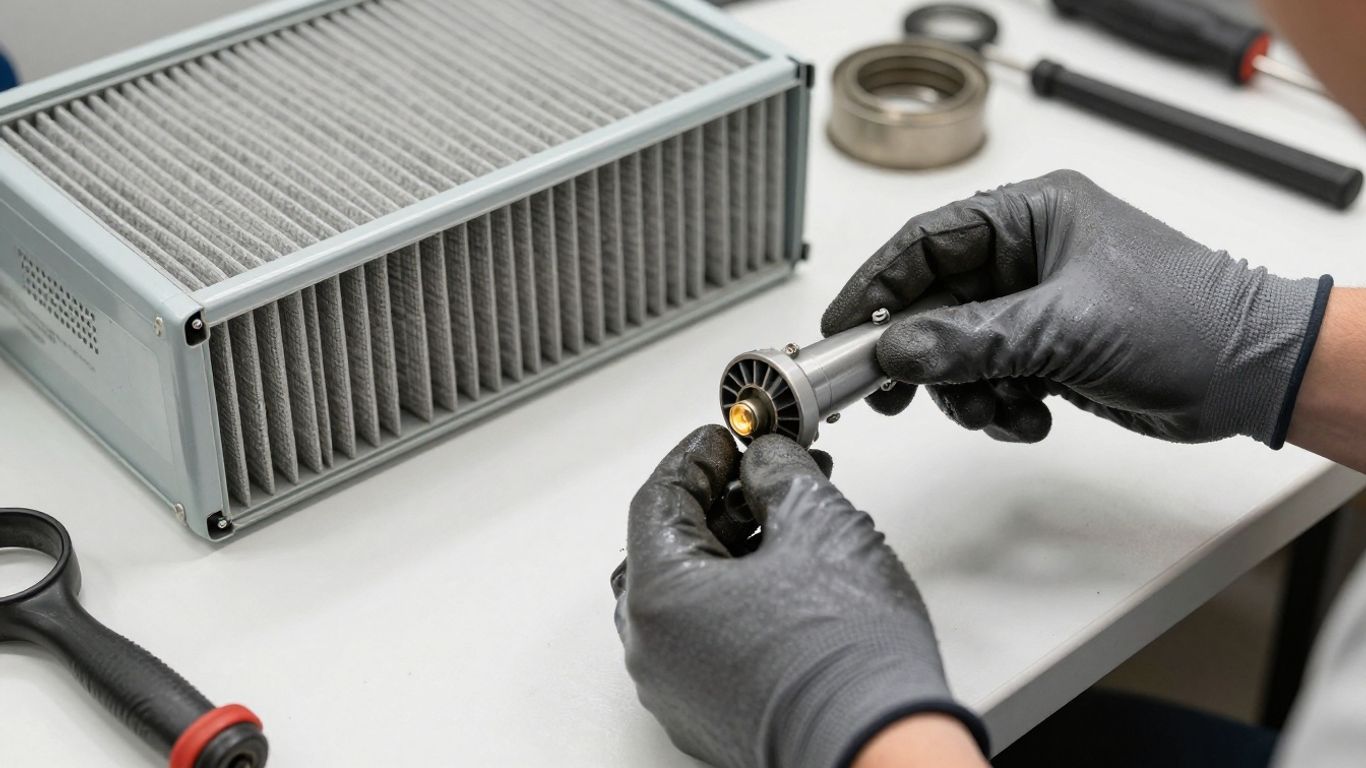
Locating the sensor in the intake system
With the hood open, trace the intake from the air-filter housing toward the engine. The MAF is commonly installed in or beside that duct, with an electrical connector attached to its body. Do not assume its position from a generic illustration; engine and model variations can change the layout.
Disconnecting the electrical connector
Make sure the ignition is off before touching the connector. Release the locking tab or secondary lock as designed, then pull the plug straight from the sensor body. If it resists, pause and look for an overlooked latch rather than levering against the plastic.
Removing the sensor without damaging it
Undo the retaining screws or clamps with the correct tool and support the sensor as it comes free. Keep track of the orientation and any O-ring, gasket, or mounting seal. Place the removed part on a clean, stable surface with the sensing side protected from contact.
Handling the sensing elements correctly
The delicate wires or film inside the sensor can be damaged by a fingertip, cloth, tool, or strong air blast. Hold the unit by its solid plastic housing only. A useful rule is simple: if a cleaning method requires touching the measuring element, choose another method.
Clean the MAF sensor step by step
The cleaning itself takes little time; most of the care goes into preventing damage. Hold the sensor over a suitable clean area, follow the cleaner’s instructions, and keep the spray away from your eyes and skin. This is the central stage of Land Rover mass airflow sensor cleaning, but it should remain a light, controlled operation rather than a forceful wash.
Applying cleaner without touching the internals
Spray the dedicated cleaner onto the sensing area from the recommended distance. Use enough to wet and rinse away deposits, but do not insert a nozzle, swab, brush, or cloth into the opening. Rotate the housing only by its outer body so the liquid can reach the contaminated surfaces without physical contact.
Removing oil, dust, and debris
Let the solvent carry away the deposit instead of trying to loosen it mechanically. Several light applications are safer than scraping a stubborn mark. If oil appears repeatedly, investigate the air-filter fit, intake plumbing, or any source of contamination rather than treating the sensor as the only problem.
Allowing the sensor to dry completely
Set the sensor in a clean, sheltered place and let it air-dry fully. Do not reinstall it while solvent remains visible or use heat to speed the process. Starting the engine with wet cleaner in the sensor or intake can create an avoidable risk and may undermine the repair.
Inspecting the sensor before reinstallation
Once dry, check the sensing area without touching it. Look for remaining debris, cracked plastic, damaged terminals, a distorted seal, or evidence that the element has been physically harmed. If the component looks damaged or the connector is questionable, cleaning is no longer the whole repair.
Reinstall the sensor and verify the repair
Reassembly deserves the same attention as removal. A sensor that is clean but installed backward, left unsealed, or connected poorly can produce the same symptoms as a faulty part. Before starting the vehicle, retrace the intake path and confirm that every opening has been closed.
Securing the sensor and intake connections
Return the sensor in its original airflow direction and seat it squarely in the housing. Refit the screws, clamps, O-ring, or gasket without forcing them, then tighten fasteners evenly. Check that the intake tube is fully over its mating surface and that clamps are positioned behind the correct retaining lip.
Reconnecting the wiring harness
Push the electrical connector onto the sensor until its lock engages. Give the plug body a gentle check rather than tugging on the wires. The harness should not be stretched, trapped beneath the intake, or resting against a hot or moving component.
Clearing fault codes when necessary
If a diagnostic code was stored, record it before clearing it. After the physical work is complete, use a compatible scan tool only if clearing is appropriate for your situation, and understand that the light may return if the underlying fault remains. Clearing a code does not prove that the sensor has been repaired.
Checking idle quality and throttle response
Start the engine and allow it to settle while you listen for an intake hiss or an unstable idle. Check for smooth throttle response with the vehicle stationary, then take a cautious test drive if the engine behaves normally. The Discovery Sport MAF cleaning guide offers another topical reference, while your own vehicle’s service information remains the better authority for model-specific checks.
Prevent future MAF sensor contamination
A clean sensor is easier to preserve when the intake system is kept sealed and the air filter is maintained. Contamination often develops gradually, so routine inspection can reveal a loose clamp or poorly fitted filter before drivability symptoms appear. Small checks during ordinary servicing are less disruptive than repeated sensor removal.
Replacing the engine air filter on schedule
Replace the engine air filter at the interval specified for the vehicle and driving conditions. Dusty roads, construction areas, and frequent short trips may justify more frequent inspection. Fit the replacement carefully so the filter seals evenly around its perimeter.
Inspecting intake hoses and clamps
Look over the intake hoses for soft spots, cracks, abrasion, or oil-soaked sections. Confirm that clamps remain tight and that each joint is aligned. A small opening can admit unfiltered air or create a leak that confuses later sensor diagnosis.
Using aftermarket air filters carefully
If you choose a non-original filter, verify that it fits the housing correctly and does not shed material into the intake. Be cautious with products that use oil on the filter media, since excess oil can migrate toward the MAF sensing area. Follow the filter maker’s service instructions and inspect the sensor if symptoms appear after installation.
Knowing when to seek professional diagnosis
Arrange professional help when the check-engine light returns, the vehicle stalls, the sensor signal remains implausible, or cleaning produces no lasting improvement. A technician can test intake integrity, wiring, live data, and related engine systems instead of guessing. For broader maintenance planning, even a vehicle servicing guide can be a useful reminder to address inspections alongside isolated repairs.
Conclusion
A careful inspection followed by gentle, solvent-only cleaning can address contamination without putting the MAF sensor at unnecessary risk. Confirm the cause, protect the sensing elements, dry the part fully, and verify the intake and wiring before judging the result. If the symptoms persist, treat that as a diagnostic signal rather than an invitation to keep spraying.
Frequently Asked Questions
Can I clean a MAF sensor without removing it?
It is usually safer to remove it when access is limited, because removal allows controlled spraying and reduces the chance of contaminating nearby components. Follow the vehicle’s service instructions and never touch the sensing elements.
How often should a MAF sensor be cleaned?
There is no universal cleaning interval. Inspect it when symptoms, intake contamination, or filter problems suggest a need, and avoid cleaning a sensor routinely if it is functioning normally.
Can I use brake cleaner on a MAF sensor?
Do not use brake cleaner unless the vehicle or sensor manufacturer specifically approves it. Use a dedicated MAF sensor cleaner that is designed to evaporate without leaving residue.
Should I disconnect the battery before cleaning?
Not necessarily. Switch the ignition off and follow the vehicle’s service guidance. Disconnecting the battery can erase settings or codes, so do it only when the repair procedure calls for it.
What if the check-engine light stays on after cleaning?
Recheck the connector, intake seals, clamps, and air-filter fit, then scan for current codes. If the fault remains, the sensor may be damaged or another intake, wiring, fueling, or ignition problem may be present.
Can a dirty air filter damage the MAF sensor?
A dirty filter can restrict airflow, while a poorly fitted or damaged filter can allow dust past the filtration point. Both conditions can contribute to inaccurate readings or contamination, so inspect the entire intake path.
Is MAF sensor cleaning suitable for every vehicle?
The basic principles are widely applicable, but access, fasteners, sensor design, and reset procedures vary. Use the correct service information for the specific engine and stop if the component or wiring appears damaged.