

Key Takeaways
A starter that will not turn the engine over is not always a failed starter; check the battery and connections first. The right replacement and a safe repair depend on the exact vehicle configuration.
- Test the battery and inspect its connections before replacing the starter.
- Compare the part, labor, and diagnostic costs before approving the work.
- Confirm the replacement matches the vehicle’s year, engine, and equipment.
- Follow model-specific service information and disconnect the battery before removal.
- Stop if access, wiring, or testing raises safety concerns.
Confirm the starter motor is the problem
A slow or failed start can come from several parts of the starting system, so replacing the starter based on one symptom can waste time and money. Begin with the battery, its connections, and the behavior you hear when turning the key or pressing the start button. The steps below can help narrow the cause, but they do not replace model-specific diagnosis.
Distinguish a starter fault from a weak battery
A weak battery often struggles to turn the engine and may also make the lights dim or other electrical equipment behave unusually. A starter fault can produce similar symptoms, which is why a battery test is a sensible first step rather than guessing from the sound alone. If the battery tests well, check whether its terminals are secure and clean before moving further into the starting circuit.
Listen for clicks, grinding, or silence when starting
A single click, repeated rapid clicks, grinding, or complete silence can each point toward different problems, but none identifies the failed part by itself. Grinding may mean the starter drive is not engaging properly, while silence can also result from a circuit or control issue. Note what happens each time you try to start the vehicle, and avoid repeated attempts if you hear grinding.
Check battery connections, fuses, and starter circuit symptoms
Look for loose or corroded battery terminals, damaged visible wiring, and any relevant blown fuse identified in the owner’s or service information. Do not bridge terminals or probe unfamiliar connectors; some vehicles use complex starting controls. If the basic checks do not explain the symptom, a technician can test the circuit and confirm whether the starter itself is receiving the correct command and power.
Understand costs and replacement options
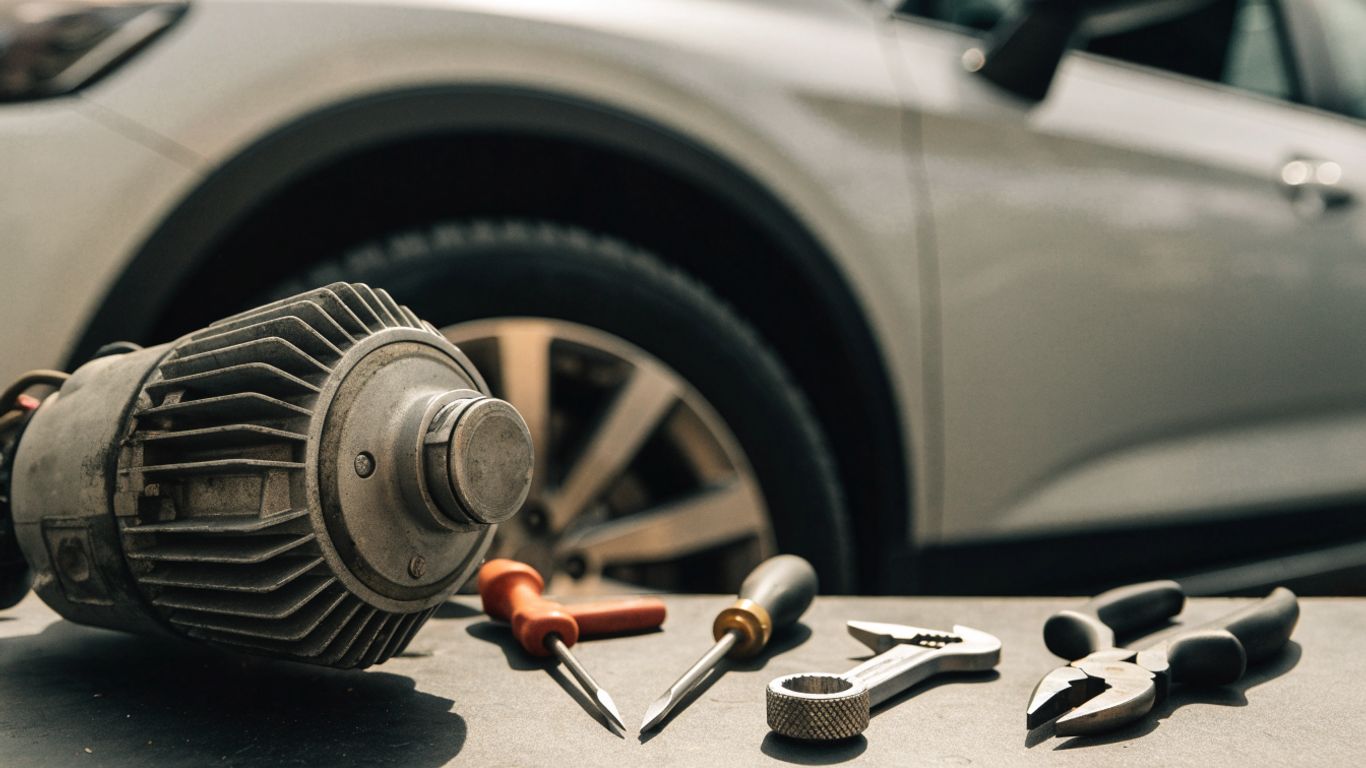
The total bill depends on the vehicle configuration, part choice, access to the starter, and local labor rates. Ask whether the estimate includes diagnosis, the replacement part, labor, and any additional work found during inspection. The price of the part alone rarely tells the full story.
Compare parts, labor, and diagnostic costs
Request an itemized estimate so you can see what is being charged for diagnosis, parts, and installation. Costs can vary substantially between model years and engines, and a difficult-to-reach starter may take longer to replace. For a broad comparison of repair estimates, see starter repair costs; treat any published figure as an example, not a quote for your vehicle.
A quick comparison can help clarify what a quote covers:
| Estimate item | What to confirm | Why it matters |
|---|---|---|
| Diagnosis | Whether testing is included | Confirms the starter is the fault |
| Part | Exact part number and condition | Helps verify fit and quality |
| Labor | Hours and included work | Access differs by configuration |
| Warranty | Coverage period and exclusions | Clarifies support if a fault returns |
Compare like with like: two estimates may include different parts or diagnostic work. For a separate perspective on comparing repair options, replacement cost quotes can be a starting point, but confirm details directly for your vehicle and location.
Choose between OEM, aftermarket, and remanufactured starters
OEM, aftermarket, and remanufactured units may differ in price, source, and warranty terms. Check the part number, application, and return policy before ordering, and do not assume that a similar-looking starter will fit. For certain 2018–2019 Discovery Sport and Range Rover Evoque 2.0L gas models without start/stop, the OEM LR084460 starter is listed as an applicable part; verify your vehicle details before relying on that fitment.
Australia’s trusted Car Parts Supplier describes a network connecting customers with quality used, genuine, and aftermarket parts. That range may help when comparing options, but the correct unit still needs to be matched to the specific vehicle. An inexpensive part is not a saving if it is incompatible or has unclear warranty coverage.
Check warranty coverage and part compatibility
Confirm the exact model year, engine, transmission, and any start/stop equipment before ordering. Use the vehicle identification number (VIN) with a parts supplier or specialist when fitment is uncertain, then check whether the warranty covers the part only or also installation-related issues. Keep the invoice and part details with your service records so there is a clear reference if the replacement needs attention later.
For anyone accustomed to organizing documents before a complicated decision, the preparation involved in mortgage refinancing offers a useful general reminder: verify the terms and details before committing. The situations are different, but the value of checking what is included is familiar.
Prepare for a safe replacement
Starter access and removal steps vary by Land Rover model and engine, so do not begin from a generic video alone. Read the correct service information first and decide whether the job is within your experience and equipment. A safe setup matters as much as having the replacement part on hand.
Confirm the model year, engine, and starter location
Identify the vehicle’s exact year and engine, then use service information for that configuration to find the starter and its access route. Some jobs can involve moving covers or other components, while others require different access altogether. A general guide to LR4 starter removal may offer context for that model, but it should not be treated as instructions for every Land Rover.
Gather the correct tools and replacement parts
Before work begins, check the required tool sizes, fastener specifications, and any access steps listed in the service information. Lay out the replacement unit and compare its connectors and mounting points with the part expected for your vehicle. A simple preparation list can prevent avoidable interruptions once the vehicle is raised or partly disassembled:
- Correct replacement starter verified by part number or VIN.
- Suitable sockets, extensions, and hand tools for the specified fasteners.
- Eye protection, gloves, and a suitable work light.
- Vehicle-specific service information and a container for removed hardware.
If the fasteners or access route differ from what you expected, pause and recheck the information instead of forcing a tool into place. Organizing maintenance records is also useful in other technical settings, such as the medical equipment maintenance described for healthcare facilities, though the equipment and procedures are entirely different.
Disconnect the battery and support the vehicle safely
Park on a firm, level surface, set the parking brake, and follow the vehicle’s instructions for shutting down electrical systems. Disconnect the battery using the procedure specified for the model; be aware that some vehicles have settings or systems that require special handling. If access underneath is needed, use correctly rated lifting equipment and stands at the approved support points—never rely on a jack alone.
Remove the old starter motor
Once the vehicle is secure and the battery has been disconnected, work methodically and keep track of every fastener and connector. The starter may be difficult to reach, and surrounding components can vary significantly between engines. If the service procedure calls for steps you cannot safely perform, stop and have a qualified technician take over.
Locate the starter using model-specific service information
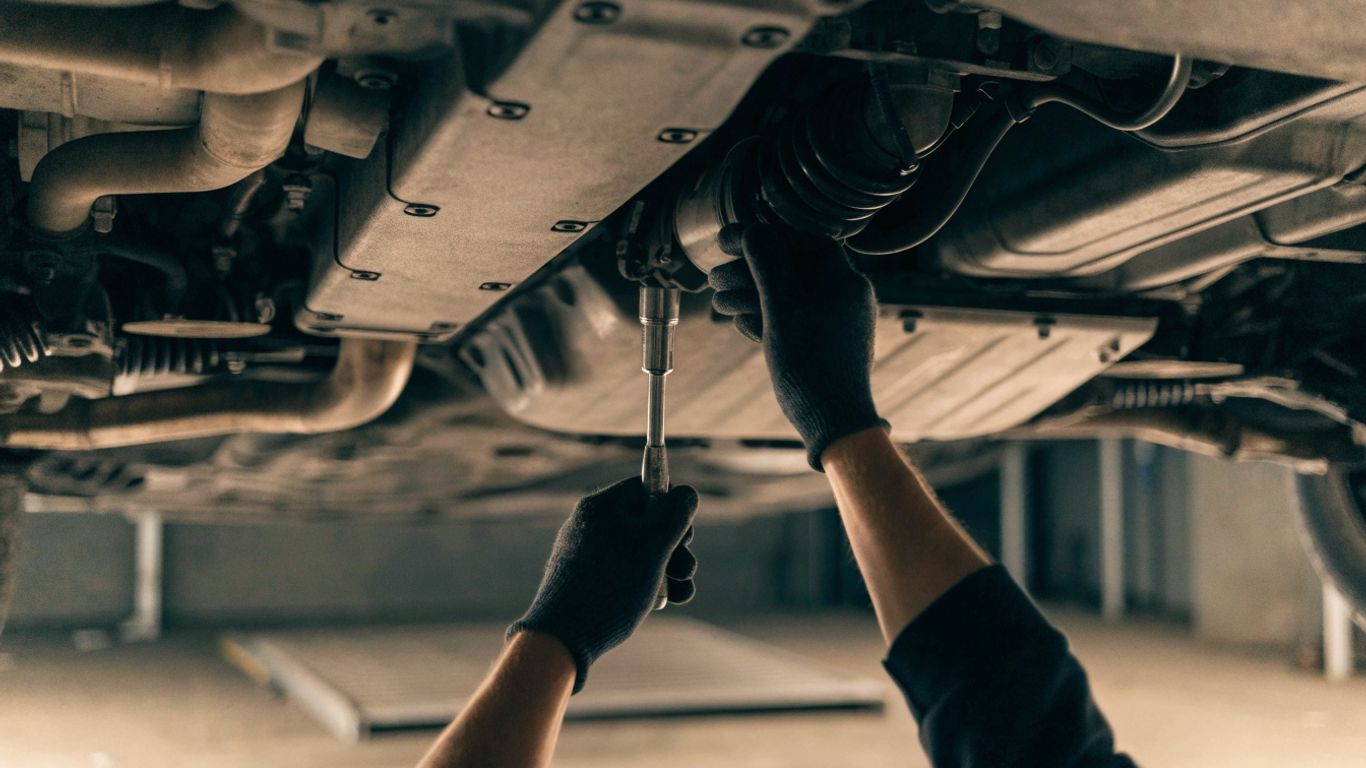
Use the correct workshop information to identify the starter, its mounting points, and any components that must be moved for access. Do not infer its location from another engine or model year; similar-looking vehicles can have different layouts. Make sure the vehicle remains stable and that you can reach the work area without putting your body under an unsupported vehicle.
Label and disconnect wiring connections
Before removing wires, note their positions and take a photo if that helps you restore them correctly. Disconnect connectors using their release features rather than pulling on the wires, and keep loose leads clear of the work area. If a connection looks damaged or its purpose is unclear, consult the wiring diagram or a specialist instead of guessing.
Remove mounting hardware and extract the starter
Support the starter as you remove its mounting hardware; it may be heavier or less balanced than it appears. Follow the specified order and avoid levering against nearby wiring, housings, or pipes. Once it is free, guide it out along the intended path and compare it with the replacement before discarding or returning the old unit.
Install the replacement starter
Installation is not simply the removal process in reverse: the replacement must match, seat correctly, and connect without strain. Keep mating surfaces and nearby components clear of loose hardware. Use the vehicle’s service specifications for tightening values and connection requirements rather than estimating by feel.
Compare the new unit with the original
Check the mounting points, electrical terminals, connector positions, and overall shape against the removed starter. Confirm the part number and application as well; a visual match alone does not prove compatibility. If anything differs, stop and verify the fitment with the supplier before proceeding.
Position and secure the starter without overtightening
Guide the starter into position without trapping wiring or forcing it against adjacent parts. Start the fasteners by hand where possible, then tighten them to the torque specification for the vehicle. Overtightening can damage threads or components, while loose hardware can let the starter shift or operate improperly.
Reconnect wiring and restore the battery connection
Reconnect each wire to its original terminal and make sure connectors are fully seated and secured as specified. Check that wiring is routed away from moving or hot parts, then review the work area for forgotten tools or loose hardware. Follow the vehicle-specific procedure when reconnecting the battery, including any required initialization steps.
Test the repair and address problems
A successful repair should restore normal starting without new warning lights, unusual sounds, or electrical problems. Test from a safe position with the vehicle assembled as required by the service procedure. If the engine still does not crank, avoid repeated attempts and return to diagnosis rather than assuming the replacement is defective.
Verify normal starting and listen for unusual noises
Start the vehicle and listen for a clean, consistent crank and normal engagement. Pay attention to grinding, clicking, slow cranking, or a starter that continues to run after the engine starts. If anything sounds wrong, switch off and inspect the work before driving.
Recheck connections if the engine still will not crank
Revisit the battery connection, starter wiring, and any connectors or fuses disturbed during the job. A loose terminal or an incorrectly seated connector can mimic a failed part, while a continuing no-crank condition may point to another part of the starting circuit. Do not bypass safety systems or apply power to unknown terminals.
Know when to stop and consult a Land Rover specialist
Stop if the vehicle cannot be supported securely, wiring is damaged, access requires unfamiliar disassembly, or the replacement does not match. A specialist can use model-specific diagnostic information and confirm whether the fault lies with the starter or elsewhere in the circuit. The Car Parts Supplier network is described as helping customers find parts across Melbourne, Sydney, Brisbane, and nationwide; sourcing a part is separate from diagnosing or carrying out the repair.
Conclusion
A careful Land Rover starter motor replacement begins with diagnosis, not a parts order. Confirm the battery and circuit condition, verify the replacement against the exact vehicle, and follow model-specific safety and installation instructions; when any step is uncertain, professional help is the safer choice.
Frequently Asked Questions
How can I tell whether the starter motor has failed?
A no-crank condition, clicking, or grinding may suggest a starter problem, but battery, wiring, fuse, or control issues can cause similar symptoms. Testing the system is the reliable way to distinguish them.
Can a weak battery sound like a bad starter?
Yes. A weak battery may cause slow cranking or repeated clicks, symptoms that can resemble a starter fault. Check the battery condition and connections before replacing parts.
How much does starter motor replacement cost?
The total depends on the vehicle, part choice, diagnostic work, local labor rates, and how difficult the starter is to access. Ask for an itemized estimate rather than relying on a general average.
Should I choose an OEM or aftermarket starter?
Compare compatibility, warranty terms, condition, and price. Whichever type you choose, verify the exact application using the vehicle details and part number.
Is starter motor replacement a DIY job?
It depends on access, the required tools, and your experience. The job may involve working under the vehicle or handling complex wiring, so use model-specific service information and stop if safe access is uncertain.
Do I need to disconnect the battery before replacing a starter?
Follow the vehicle’s service procedure, which will generally require isolating the battery before working on starter wiring. Some vehicles have additional shutdown or reconnection steps, so check the correct instructions first.
What should I do if the engine still will not crank after replacement?
Stop repeated starting attempts and recheck the battery, connections, wiring, and relevant fuses. If the cause remains unclear, have a qualified technician test the starting circuit and installation.