

Key Takeaways
A steering rack fault can feel like a vague handling problem at first, but careful inspection usually separates rack wear from suspension or steering-linkage issues.
- Steering play, wandering, leaks, noises, and uneven tire wear all deserve prompt inspection.
- A rack should not be replaced until tie rods, ball joints, boots, lines, and assist systems have been checked.
- The correct replacement depends on the Land Rover model, year, steering system, and part number.
- Labor can vary considerably when subframe access, hydraulic flushing, or related repairs are involved.
- A post-repair bleed, four-wheel alignment, road test, and leak check are essential.
How the steering rack works in a Land Rover
A steering rack converts the driver’s rotation of the steering wheel into side-to-side movement at the front wheels. It works with the steering column, tie rods, steering knuckles, and power-assist equipment as one system. Because several parts influence steering feel, a rack replacement should follow a confirmed diagnosis rather than a guess based on one symptom.
The rack-and-pinion system explained
The steering column turns a small gear called the pinion. Its teeth engage with the longer rack bar, moving that bar left or right as the steering wheel rotates. Inner and outer tie rods then transfer the movement to the steering knuckles, changing the direction of the front wheels.
Wear inside the rack can create excess clearance between the pinion and rack bar or between internal supports and the housing. That clearance may appear as free play, a knock, or a delayed response when the driver makes a small steering correction.
Hydraulic and electric power steering differences
Hydraulic systems use a pump, fluid, hoses, seals, and a hydraulic section within or alongside the rack to reduce steering effort. A leak can lower the fluid level and allow air into the circuit, while a damaged hose or pump can imitate a rack problem.
Electric power steering uses an electric motor and control electronics rather than a conventional hydraulic circuit. Faults may involve wiring, sensors, the motor, or control software, so a steering-assist warning does not automatically prove that the mechanical rack has failed.
How the rack connects to the steering column and front suspension
A coupling or intermediate shaft joins the steering column to the rack input. The rack is then secured to the vehicle structure, while its inner tie rods connect to the outer tie rods and front steering knuckles. The rack’s position affects toe, so even a correctly installed replacement can leave the vehicle misaligned until the geometry is reset.
Access varies by model. Some jobs require the front subframe or nearby components to be lowered or moved, which is one reason labor estimates should describe the access procedure rather than quote only a flat replacement time.
Land Rover models commonly affected by steering rack problems
Different generations of Range Rover, Range Rover Sport, Discovery, and other Land Rover vehicles use different rack designs and assist systems. The model year, engine, drive configuration, steering option, and installed part number all matter when identifying a replacement.
A useful starting point is to record the vehicle identification number and compare the original rack’s markings with the supplier’s catalog. A 2010–2013 Range Rover Sport rack listing can help illustrate why model-year compatibility and part-number checks belong in the buying process, although it should not be treated as universal fitment information.
Signs you may need a steering rack replacement
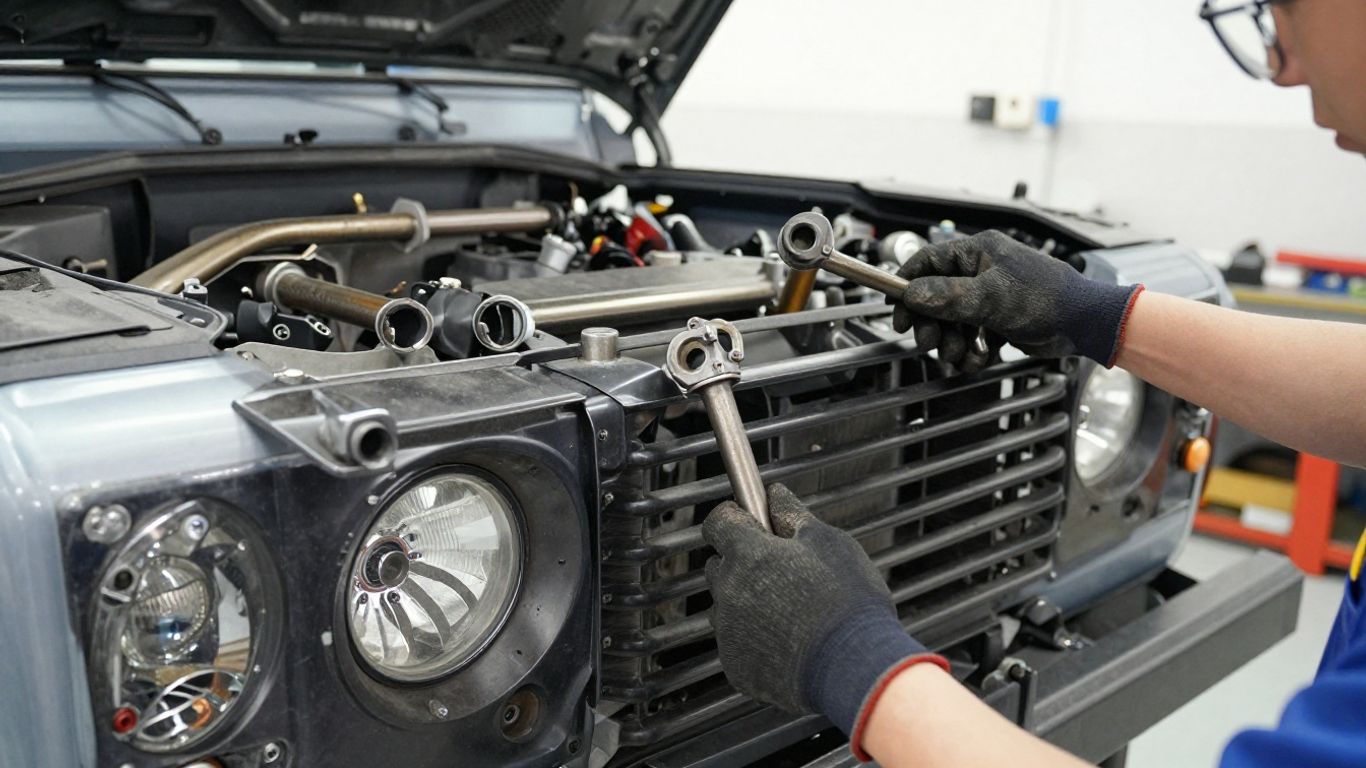
Steering problems rarely announce themselves in one perfectly clear way. A vehicle may wander, develop a fluid stain, make a knock over rough ground, or fail an alignment check. These symptoms can come from several parts, so the pattern and the inspection results matter more than any single complaint.
Steering play, wandering, and poor on-center feel
Excessive movement at the steering wheel before the tires respond can indicate wear in the rack, tie rods, steering shaft, or suspension joints. Wandering may also result from incorrect tire pressures, worn bushings, loose wheel bearings, or poor alignment.
A technician can compare steering-wheel movement with movement at the rack and each wheel. If the input shaft moves while the rack or tie rods respond late, the source becomes easier to localize. Small steering changes should produce a predictable response without a clunk or dead zone.
Power steering fluid leaks and low fluid levels
On a hydraulic system, fluid around the rack boots, shaft seals, hoses, pump, or connections deserves attention. Fluid inside a rack boot can point toward an internal seal leak, while fluid outside the boot may come from a nearby hose or connection and only appear to be a rack leak.
Low fluid can make the pump noisy and introduce air into the circuit. The reservoir should be checked using the correct fluid and procedure for the vehicle, and the leak should be identified before topping up is treated as a repair.
Knocking, binding, or unusual steering noises
A dull knock while turning or traveling over uneven surfaces may come from rack mounts, inner tie rods, outer tie rods, ball joints, or control-arm components. Binding or notchy steering can also involve the column coupling, assist system, or a mechanical problem inside the rack.
A safe inspection compares the noise with the wheels loaded and unloaded where appropriate. The owner replacement discussion shows why access and removal methods can differ, but forum advice should supplement—not replace—a workshop inspection and the manufacturer’s repair information.
Uneven tire wear and failed alignment checks
Uneven shoulder wear, feathering, or a vehicle that repeatedly falls out of alignment can indicate looseness or bent components. It can also be caused by incorrect toe settings, worn suspension bushings, damaged wheels, or tires with different pressures.
Before authorizing a rack, ask for the alignment readings and the measured play that led to the diagnosis. A rack that is replaced without correcting a bent arm or worn tie rod may leave the original handling complaint unresolved.
Diagnosing a faulty steering rack
Diagnosis begins with a visual and physical inspection, then moves to hydraulic or electrical testing when required. The vehicle should be safely supported, and steering components should be checked for movement while an assistant turns the wheel only as directed by the technician. A written diagnosis is useful because it identifies what failed and what merely shows normal wear.
Inspecting the rack, boots, lines, and seals
The rack housing, mounting points, bellows boots, input shaft seal, hydraulic lines, and electrical connectors should be inspected for damage, looseness, corrosion, and fluid contamination. Torn boots can allow dirt and water into inner joints even when the rack itself is still serviceable.
A clean component may be easier to assess after surrounding oil and road grime are removed. The inspection should also look for fresh fluid trails and distinguish them from old residue that has collected on the subframe.
Distinguishing rack failure from tie rod and ball joint wear
Tie rods and ball joints can produce symptoms that feel almost identical to internal rack wear. With the vehicle supported correctly, a technician can check for movement at the wheel and observe each joint while the steering is loaded and unloaded.
The location of the movement matters. Play at an outer tie-rod end does not justify replacing the entire rack, while movement at the rack housing or internal rack ends may support a rack-related diagnosis. Replacing only the failed part is often the more sensible repair.
Checking power steering pressure and electrical faults
Hydraulic systems can be tested for pressure and flow, provided the correct test procedure and equipment are used. Low or unstable pressure may point to a pump, restriction, belt, fluid, or valve issue instead of the rack.
Electric systems require checks of battery voltage, fuses, wiring, sensors, motor operation, and stored fault codes. A warning light is evidence that further testing is needed, not by itself a parts verdict.
When a professional diagnostic scan is necessary
A scan tool becomes especially useful when the vehicle has electric steering assist, steering-angle calibration requirements, or communication faults between control modules. It can reveal stored codes and live data that a visual inspection cannot provide.
The scan should be combined with mechanical checks. Clearing a code without identifying its cause may make the warning disappear temporarily while leaving the steering fault in place. The same principle applies to clear follow-up planning: document the finding, the next test, and the reason for the proposed repair.
Choosing a replacement steering rack
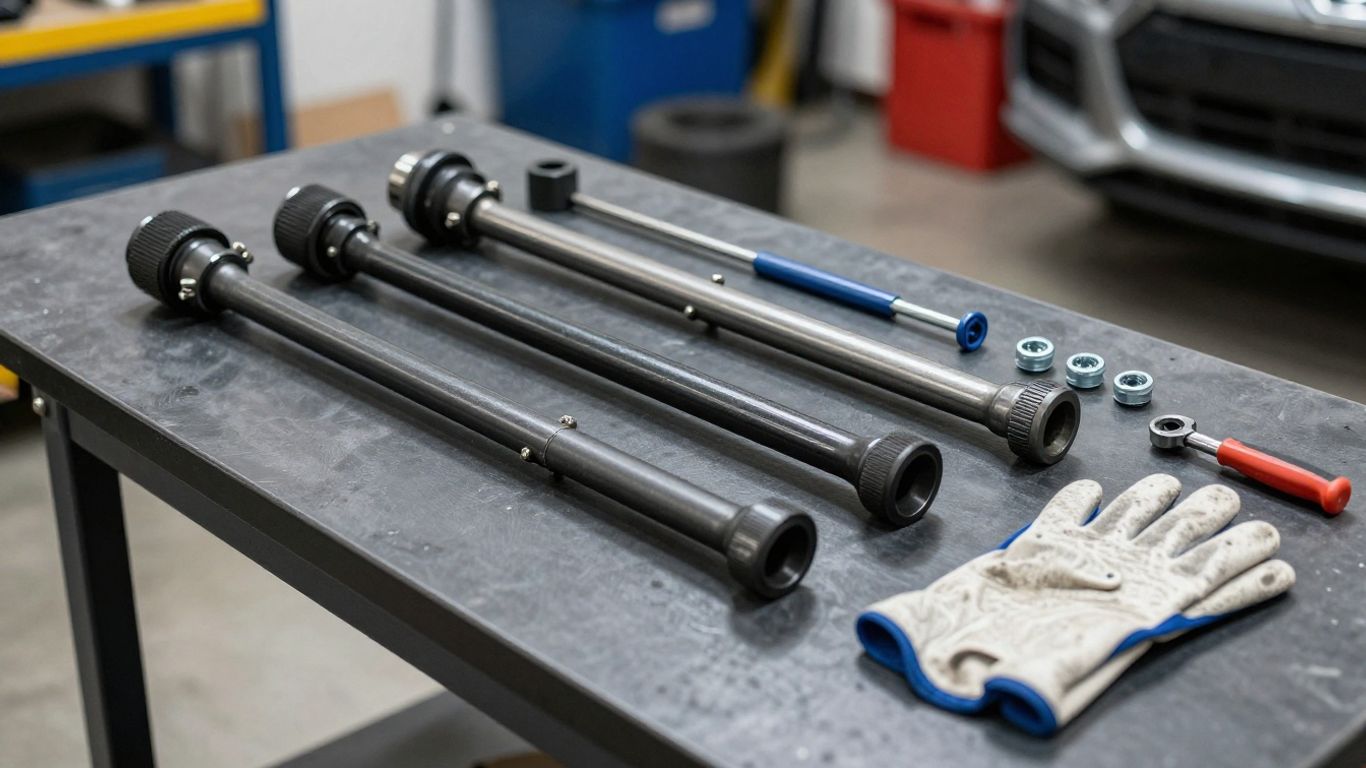
Once the diagnosis is confirmed, the next decision is which rack to install. Price matters, but so do fitment, internal condition, warranty terms, included components, and the supplier’s ability to verify the part. A fast parts search is only useful when the result is the correct rack for the vehicle.
New, remanufactured, and used rack options
A new rack is unused, while a remanufactured unit has been disassembled, inspected, and rebuilt according to the remanufacturer’s process. A used rack may be a practical option when its history and condition are known, but its remaining service life is harder to predict.
Ask whether the unit includes inner tie rods, sensors, mounting hardware, or required seals. A lower purchase price can change quickly if essential components must be transferred from the old rack or bought separately.
Matching the rack to the Land Rover model and year
Verify the VIN, model, year, engine, steering-assist type, drive configuration, connector arrangement, and original part number. Catalog descriptions can group similar vehicles together even when the racks are not interchangeable.
The supplier should confirm compatibility before dispatch. This is also where a broader parts network can help: availability across Melbourne, Sydney, Brisbane, and nationwide is useful only when the identification process remains exact.
Comparing OEM and aftermarket components
An OEM replacement is made for the original equipment specification, while aftermarket options vary by manufacturer and quality-control process. Compare construction, seals, included parts, calibration requirements, return conditions, and warranty coverage rather than relying on the label alone.
For a high-value repair, ask how the part was tested and whether installation requirements are supplied. A replacement-part comparison may provide useful questions about warranty and core return, but the exact vehicle fitment still needs to be checked independently.
Parts warranties, core charges, and compatibility checks
A core charge is a refundable amount sometimes added until the old rack is returned. Confirm the return deadline, packaging requirements, damage exclusions, and whether the old unit must be the same type as the replacement.
Before installation, compare connectors, mounting points, shaft splines, line ports, and overall dimensions. Keep the invoice and part number with the vehicle records, since those details can simplify a warranty claim or future diagnosis.
What the Land Rover steering rack replacement involves
The exact procedure depends on the vehicle and rack design, but replacement is more than unbolting one component and fitting another. The technician must protect the steering system, maintain correct alignment of the shaft and wheels, and follow the appropriate procedure for hydraulic or electric assist. Some vehicles provide limited access around the rack, adding time to the job.
Preparing the vehicle and disconnecting the battery
The vehicle is secured on a lift or stands, the wheels are kept straight, and the steering wheel is prevented from turning unnecessarily. On vehicles with electrical steering components or airbag-related equipment, the battery may need to be disconnected according to the service procedure.
The technician should note the original steering-wheel and shaft position before separation. This helps prevent an incorrectly centered wheel or damage to a steering-angle component during reassembly.
Removing the steering linkage and hydraulic or electrical connections
The intermediate shaft is separated from the rack input, followed by the tie-rod connections and rack mounting fasteners. Hydraulic lines must be capped to limit contamination and fluid loss; electrical connectors should be released without pulling on the wiring.
Nearby shields, braces, or subframe components may need to be moved for clearance. The work should follow the vehicle’s repair information rather than an assumed shortcut, since access and fastener requirements differ between models.
Installing and securing the replacement rack
The replacement rack is positioned with its input shaft and rack bar centered as specified. Mounting fasteners are tightened using the required sequence and torque, and the tie rods are installed with the correct engagement and locking method.
The rack should not be forced into place or used to pull other components into alignment. A careful installation protects the mounts, threads, seals, and steering-column coupling while preserving a usable starting point for final alignment.
Reconnecting components and refilling the steering system
The steering shaft, tie rods, hydraulic lines or electrical connectors, shields, and any removed structural components are reconnected. Hydraulic fluid is refilled with the specified fluid, while electric systems may require initialization or calibration after the mechanical work is complete.
The technician then checks fasteners, routing, clearance, and fluid level before starting the vehicle. For hydraulic systems, bleeding is carried out gradually to avoid aeration and pump damage.
Replacement costs and labor considerations
The price of a Land Rover steering rack replacement depends on the part, the vehicle, access, local labor rates, and any related work discovered during diagnosis. A single online average can be misleading because older and newer vehicles may have very different rack designs and installation procedures. A useful estimate separates parts, labor, fluids, alignment, diagnostic time, and possible extras.
Typical parts and labor cost factors
The rack itself is usually the largest parts expense, but shipping, core charges, new fasteners, fluid, tie rods, and alignment can affect the final invoice. Labor rises when the rack is difficult to reach or when the subframe must be lowered.
Ask for a written estimate that states whether diagnosis and alignment are included. Transparent replacement estimates can help a reader understand how parts and labor are separated, but prices vary with location, vehicle specification, and the condition of surrounding components.
Model-specific differences that affect pricing
Vehicle age, engine layout, steering-assist type, corrosion, subframe design, and available replacement units all influence the job. A rack with an integrated electric motor or steering electronics may require additional calibration and diagnostic work.
The same model name can cover several generations and powertrains. Supplying the VIN before quoting helps a parts supplier and repairer avoid estimating against the wrong catalog entry.
Additional repairs discovered during installation
Once the rack is exposed, a technician may find torn boots, worn inner or outer tie rods, damaged mounts, leaking lines, corroded fasteners, or suspension joints with excessive movement. These findings should be documented and priced separately where possible.
Not every nearby worn part must be replaced automatically, but any part that affects steering safety or prevents correct alignment deserves clear discussion. This keeps the repair focused without ignoring a genuine risk.
When a specialist may cost less than a general repair shop
A specialist may have the correct scan tools, alignment equipment, rack experience, and access procedures for the vehicle. That expertise can reduce diagnostic repetition and avoid damage caused by unfamiliar removal methods.
A general shop can still be a good choice when it has the necessary equipment and experience. Compare the full scope of work, warranty, alignment arrangements, and likely additional labor rather than choosing solely on the lowest hourly rate. Even practical planning habits, such as choosing the right developer for a technical project, have a parallel here: define the required capability before comparing quotes.
Post-replacement alignment and maintenance
The job is not complete when the replacement rack is bolted in. The steering system must be free of air or faults, the wheels must point correctly, and the vehicle must track safely on the road. A careful handover includes test results, fluid checks, alignment readings, and any recommended follow-up.
Bleeding air from the power steering system
Hydraulic systems are bled using the vehicle-specific process, often with controlled steering movement and repeated fluid-level checks. Turning the wheel aggressively against the stops can load the pump and create unnecessary heat or noise.
After bleeding, the fluid should be inspected for foam and the reservoir should be set to the correct level. Persistent noise or foaming suggests that air is still entering the system or that another component needs attention.
Performing a four-wheel alignment
A four-wheel alignment checks toe, camber, caster where adjustable, thrust angle, and steering-wheel position. Rack removal commonly changes toe, so an alignment is required even when the tie-rod lengths appear to have been reproduced accurately.
The final readings should be recorded and compared with the vehicle’s specifications. If the figures cannot be brought into range, the technician should look for bent or worn suspension parts rather than forcing an adjustment.
Testing steering response and checking for leaks
The vehicle should be checked at low speed first, then road-tested for straight-line tracking, return-to-center behavior, assist level, unusual sounds, and warning lights. Hydraulic connections and rack seals should be inspected again after the test drive.
The steering wheel should sit close to centered when the vehicle travels straight. Any new knock, stiffness, fluid loss, or warning message should be investigated before the repair is considered finished.
Maintenance practices that help protect the new rack
Keep tires correctly inflated, repair fluid leaks promptly, and avoid holding the steering against full lock for extended periods. Inspect torn boots and unusual play during routine service, especially after impacts with potholes or curbs.
Use only the specified fluid and keep the reservoir clean on hydraulic systems. If shopping or service decisions feel confusing, even a simple checkout improvement guide reinforces a useful habit: remove ambiguity by presenting the exact item, terms, and next step clearly.
Conclusion
A Land Rover steering rack replacement is most successful when the symptoms are confirmed, the replacement is matched carefully, and the installation ends with bleeding, alignment, and testing. Taking time to separate rack failure from tie-rod or suspension wear can prevent unnecessary expense while keeping steering safety at the center of the repair.
Frequently Asked Questions
How long does a steering rack replacement take?
The time varies by vehicle, rack access, corrosion, and whether the subframe or related components must be moved. Diagnosis, fluid service, and alignment add to the overall appointment.
Can I drive with a noisy steering rack?
A noisy rack should be inspected before continued driving. If steering is loose, binding, leaking heavily, or difficult to control, stop driving and arrange professional assistance.
Does a leaking rack always need replacement?
Not always. The leak may come from a hose, connection, or pump, while fluid inside a rack boot can indicate an internal seal problem. The source should be confirmed first.
Should tie rods be replaced with the rack?
Only if they are worn, damaged, seized, or unsuitable for reuse. Their condition should be measured during diagnosis and their replacement included in the estimate when necessary.
Is wheel alignment required after rack replacement?
Yes. Removing and installing the rack can change toe and steering-wheel position, so a four-wheel alignment is normally required after the mechanical work.
What is the difference between a used and remanufactured rack?
A used rack comes from another vehicle and has an uncertain remaining life. A remanufactured rack has been processed and tested according to the remanufacturer’s method, but warranty and quality still vary.
Why is the steering wheel off-center after replacement?
The rack or tie rods may not have been centered correctly, or the alignment may not have been completed. It can also indicate a related suspension or steering component problem.